
How to easily recover deleted files from your Android smartphones and tablets and also from your MicroSD cards
Our hearts skip a beat when we delete files from a phone by a mistake. And it’s even more disheartening when we don’t know how to recover the files lost. In such a scenario, what do you do when the file you happen to delete is very crucial?
Our mobile phones today store so much of important and personal data that losing it might be like losing a part of the memory for our life. we get to store music, pictures, contacts, messages, applications, and even a personal diary!
But when we lose data due to silly errors, it’s quite frustrating, believe me; I know these things can get tough. But, don’t worry, just the way every problem has a solution, every deleted file can be recovered!
The thing is, you should know how to do it, and the right kind of tools to use and the type of recovery, whether it’s for internal memory or for the external SD card. In our case, the great thing is that the type of toolkit that we are about to use has the ability to restore lost data from both internal and external sources of memory! How cool is that? So let’s get started on the process of how to recover deleted files on Android.
How to recover deleted files from Android’s internal memory
Android phones store their data in three places; the SIM card, the internal phone memory, and the SD card. One of the best-known tools that help with this kind of recovery is the FORecovery Android Data Recovery which helps to recover almost every kind of data you may have lost due to the rooting process or resetting the factory settings. Here’s a step by step guide to help you go about this process.
Step 1: Connect your Android phone to your PC
The first step is to launch the toolkit and connect your phone to the PC. Once you launch the Toolkit, select the option for Data Recovery. You can connect your smartphone to the PC using a USB cable. If you have a locked phone, unlock it before doing this as it might not work efficiently.
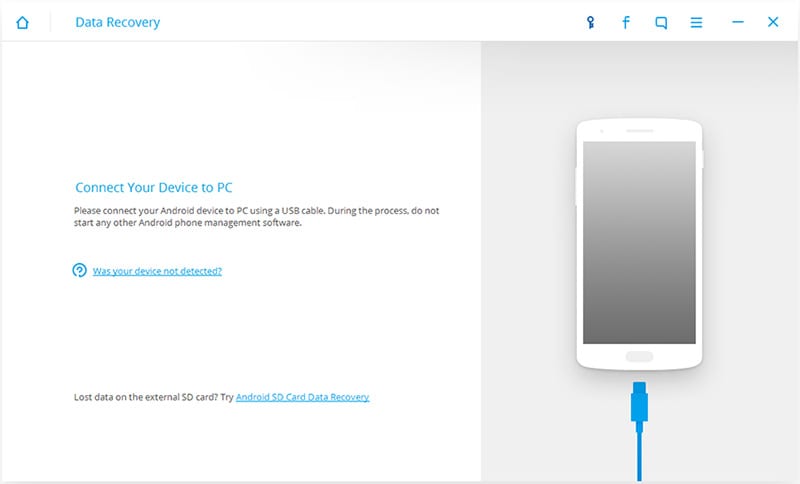
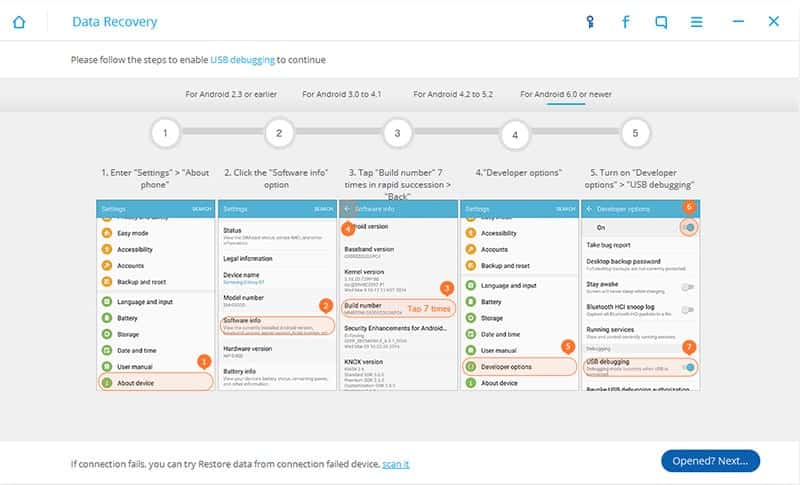
Make sure that the option of USB Debugging is enabled, please follow the instruction on screen to enable the USB debugging.
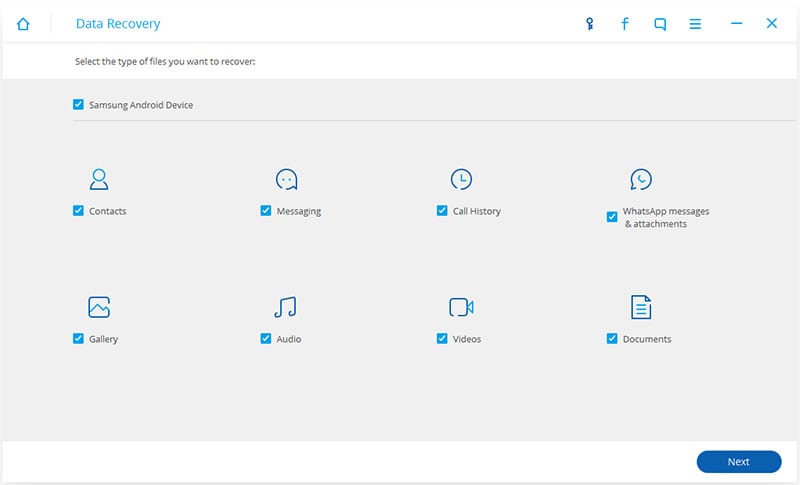
Step 2: Select the types of files you want to scan
Once you connect your Android device successfully, the next step involves the display of data types that the toolkit supports in recovering. Although it checks all the files by default, it also gives you an option to select the type of data that you might want to recover instead of recovering everything. If you recover everything, you need to be patient as it might take a while to do that. Once you select what you want to recover, click “Next”.
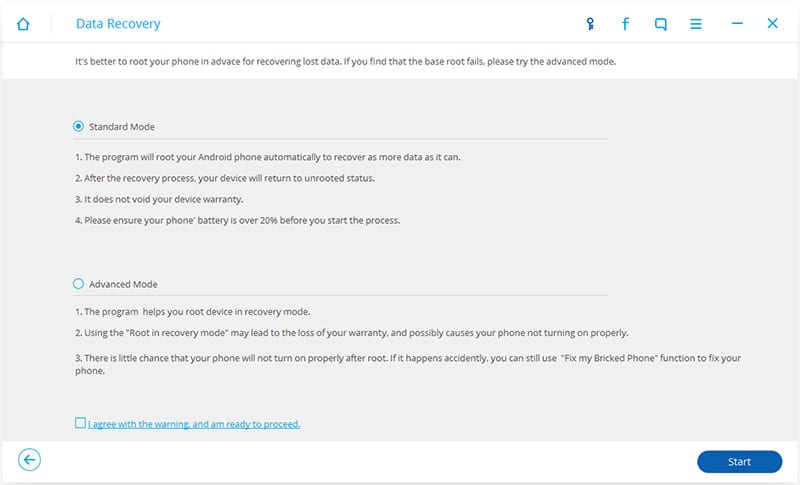
Step 3: Scanning the device
There are two modes of scanning using the above toolkit. Read through the descriptions provided and choose whether you want to run a standard scan mode or an advanced one, depending on the needs you have. If you want the scanning to get done fast, use standard, but if this scan is unsuccessful in finding the files you are looking for, then try the advanced one. After selecting the choice of scan mode, click on “Start”. This process might take some time so just hold on and sip your cup of coffee patiently.
Step 4: Preview the file and recover it!
Once the scan is completed, you are displayed with a preview of the data that was found, one by one. Look for the data that you had lost, and click recover to save it. Note that it will save on your PC so once saved; you can transfer it to your smartphone.
How to recover deleted files on your SD card
Then there are those times that data just gets deleted from your SD card. And we aren’t talking about messages or contacts, but music, pictures, and even important documents! I know that’s even worse but there is a solution to all of it. Let’s get started with the solution.
Step 1: Connect your SD card to your PC using the Android phone or a card reader
Once again, you have to launch the Android Data Recovery Toolkit and select the Data Recovery option. Now at the bottom of the program, you will see an option of Android SD Card Data Recovery, click on it.

After this, connect your SD card to the machine using a phone or card reader, whichever is suitable and comfortable for you.
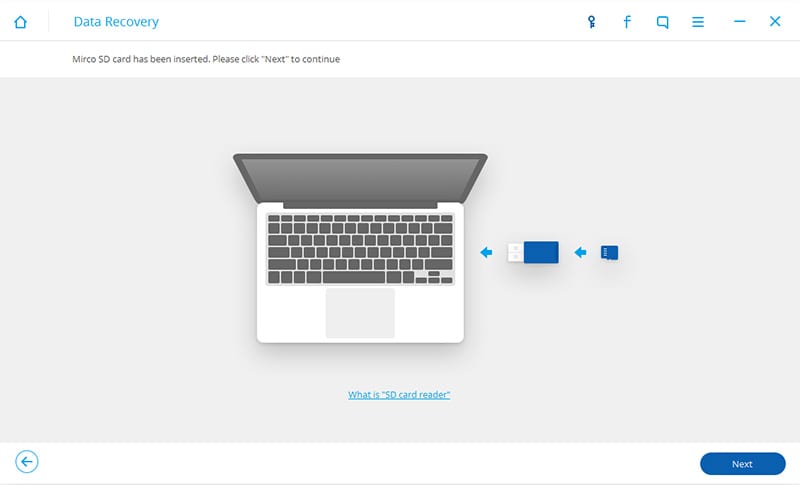
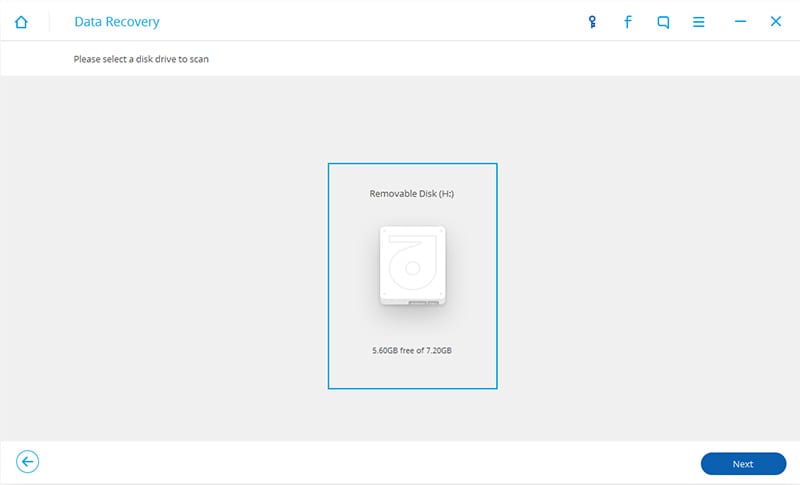
Once the card is detected, you will see an icon of the SD card on your screen so select it and click “Next” to continue.
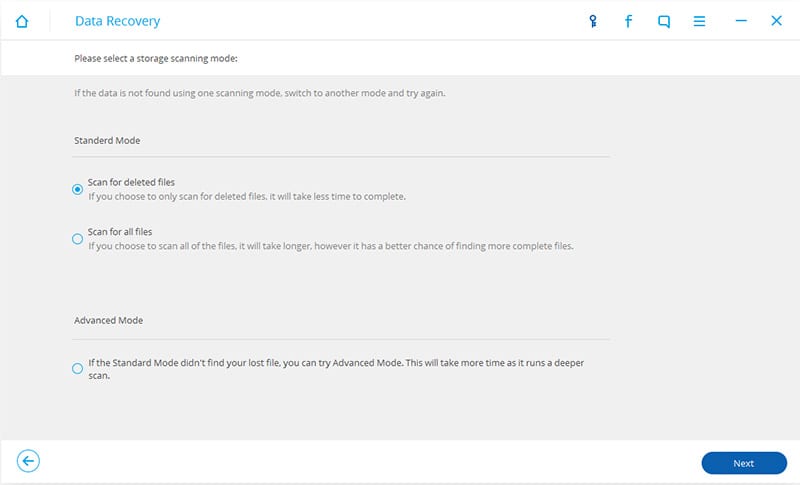
Step 2: Choosing the type of scan
The same step again, whereby you choose the type of scan depending on the kind of recovery you are looking for. However, I suggest you try the standard mode first before proceeding to the advanced mode as it is less time consuming and gives you the option to scan all the files or only the deleted ones. Once you have selected the mode of the scan, click ”Next” to initiate the scan.
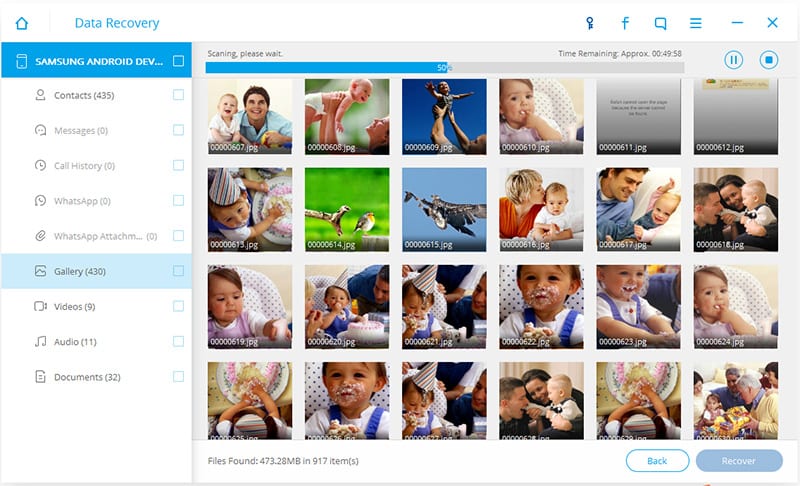
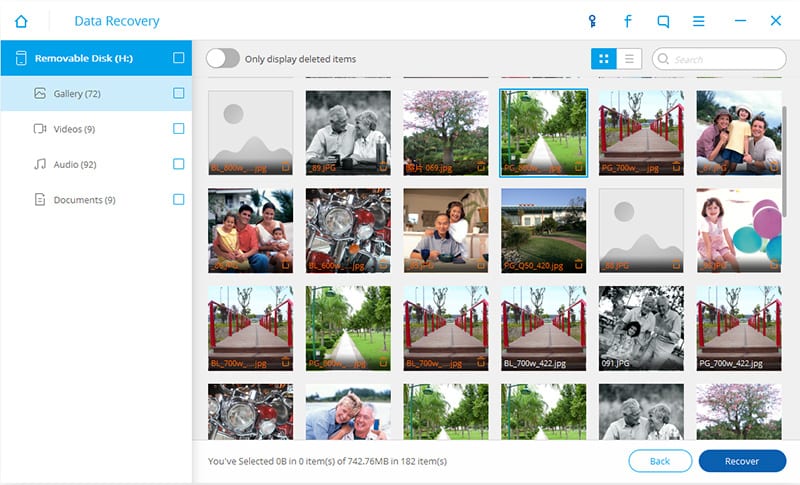
Step 3: Selective data recovery on the SD card
After the scanning process is done, you can see that all the files found are displayed in categories. On the left side, it shows the categories, whereas, on the right, it shows the contents of the category you choose. From here, you can select the check boxes and click on ”Recover” to attain it back!
Very simple and easy to use, right? And since it is an Android recovery toolkit, it gives the user an advantage to use all kinds of different mobile phones as long as the OS it operates on is Android.
Examples of phones from different distributors are Samsung, LG, OnePlus, HTC, Motorola, ZTE. Since all these smartphones have Android as the OS, you can use the above guide to recover the lost nd of difficulties.
In the mid of progress it just stop functioning
Agreed, Sujeet. It definitely stops functioning midway through the process. Useless, time wasted, and implemented unnecessary access to fragile data on the phone, causing possible irreversible data destruction that could result in recoverable data becoming permanently unrecoverable, forever lost. Shameful, unforgivable.