
If You are looking for A fresh Installation Of Windows 10. In This Article, We have Provided Step By Step Guide on How To Create Windows 10 bootable USB Or installation disk
With the arrival of Microsoft’s Windows 10, BSOD screens are a rare sight but they do occur. Sometimes, you can get an unwanted error that your system has failed. In absence of a Windows 10 repair CD/DVD the only solution to the BSOD or system error is to reboot your device using some external source like your USB pendrive or a DVD.
This article is for those of you in genuine need for an installation disk or bootable USB stick for Windows 10. You can create a bootable disc or a bootable USB with the Microsoft’s media creation tool that many of you may have used to upgrade from Windows 7/8.1 to Windows 10. Here is a step-by-step walkthrough of the entire process.
Table Of Contents
Steps For Creating a Bootable Windows 10 Installation Disk or USB Pendrive
Requirements to make your own Windows 10 Bootable USB Pendrive
- Download Windows 10 Media Creation Tool from Microsoft (free)
- A USB with at least 4GB space. It will be wiped clean during the process so make sure nothing is on it or a DVD drive for burning the ISO file to DVD.
- Any Windows version from Windows 7 to Windows 10.
- An active internet connection
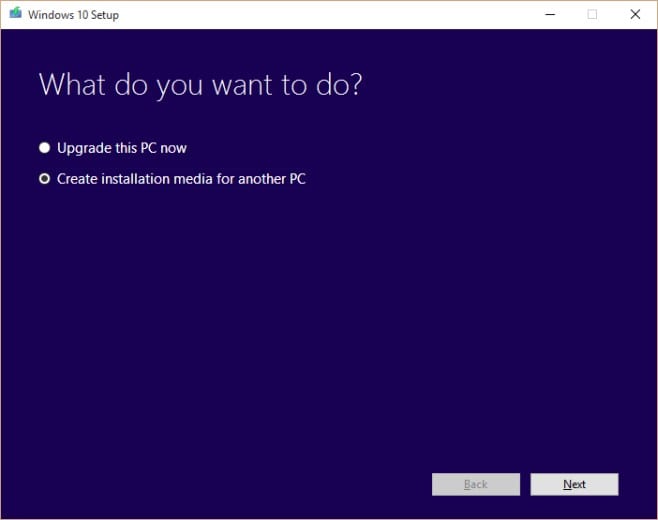
Download the Media Creation tool and run it. The tool will ask you if you want to upgrade the current Windows version or if you want to create installation media. Select the ‘Create installation media for another PC option.
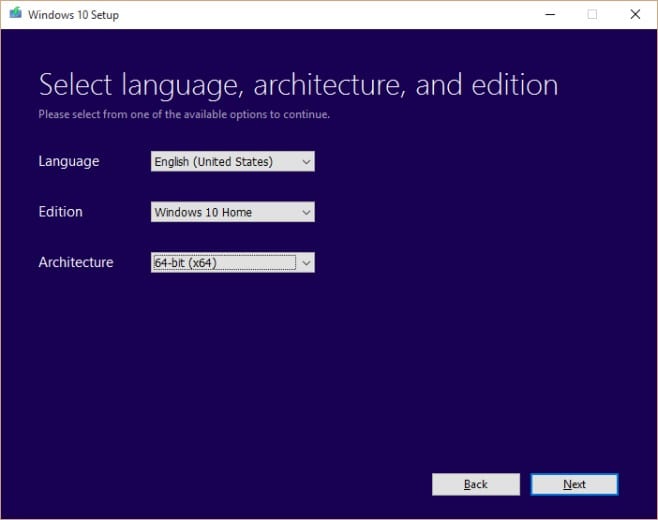
Next, choose which edition of Windows you want to create, what language you plan to use Windows in, and whether you want to create the installation media for 32bit, 64bit, or both 32 and 64bit versions.
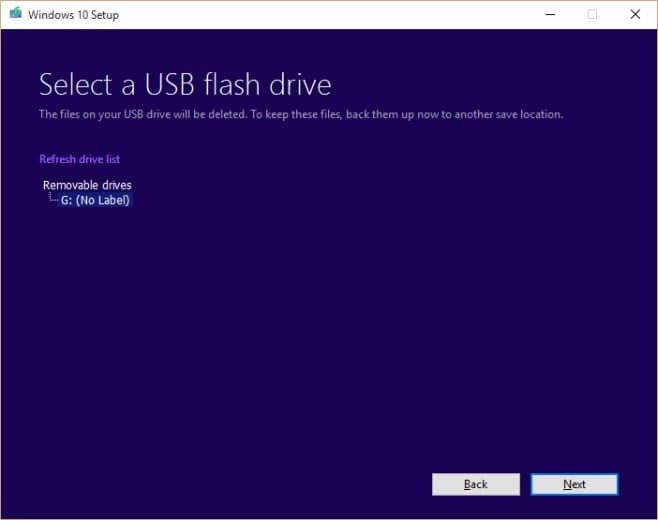
In the next step, choose whether you want to create a bootable USB or get an ISO file to burn to a DVD. If you choose the USB option, you must have the USB on hand and it should be connected to your PC/laptop.
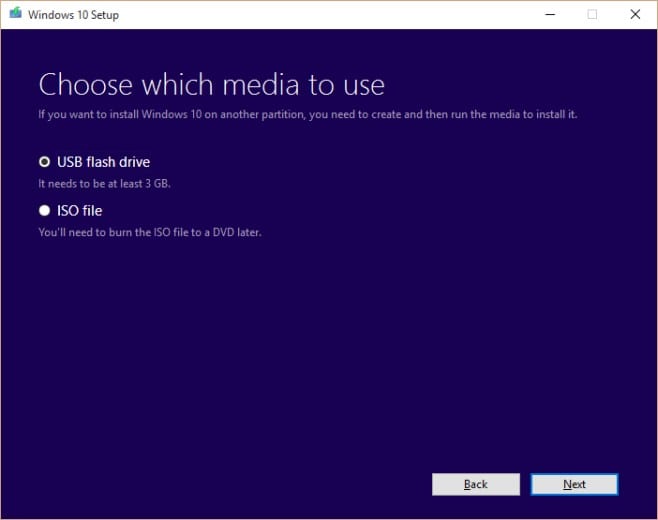
This tutorial is for a USB flash drive but you can alternatively select ISO option. Save the ISO file on your PC/Laptop and burn it on a DVD once the full ISO has been downloaded.
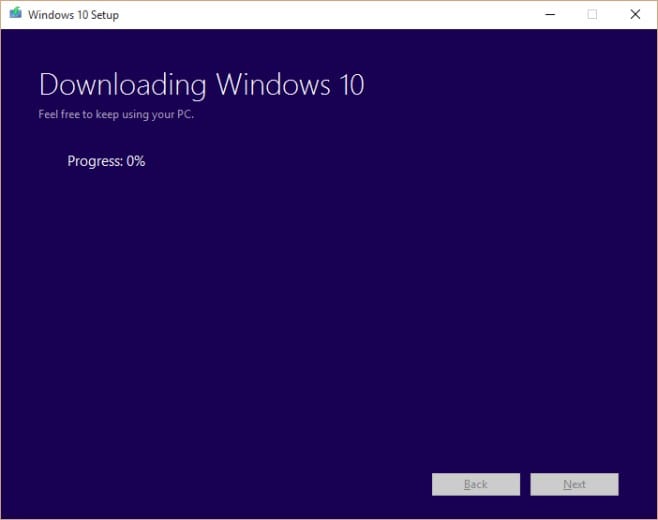
Once you click on Next, the system will start downloading the Windows version bootable files.
Once the files have downloaded, the tool will automatically start creating the bootable USB. When it completes, your USB is ready for installation. Alternatively, the ISO file will be saved to a location of your choice and you can then burn it to a DVD later.
Conclusion
