
Are you unable to use VPN on your Windows 11 PC or laptop?
Almost everyone uses VPNs nowadays to mask their IP address to protect their online identity and access sites restricted by the ISPs or Governments.
Windows 11 has an in-built VPN, so you won’t have to download a dedicated VPN app on your PC.
Many users have shifted to the in-built VPN in Windows 11 because it is much more convenient to use.
Despite the increasing number of users opting for an in-built VPN, issues with it are becoming much more common.
System updates, corrupted drivers, proxy network, firewall, etc., can mess up the Windows 11 VPN and cause issues with it.
Table Of Contents
How to Fix Windows 11 VPN Not Working?
Let’s go through all the steps you can follow to fix the Windows 11 VPN not working issue.
1. Reinstall WAN Network Drivers
If Windows 11 VPN is not working, it can be due to the WAN network drivers.
If the network drivers are not properly installed or their installation files are corrupted, that can cause this issue.
You can try uninstalling the WAN network drivers to solve the issue with the VPN. The steps below will guide you through that-
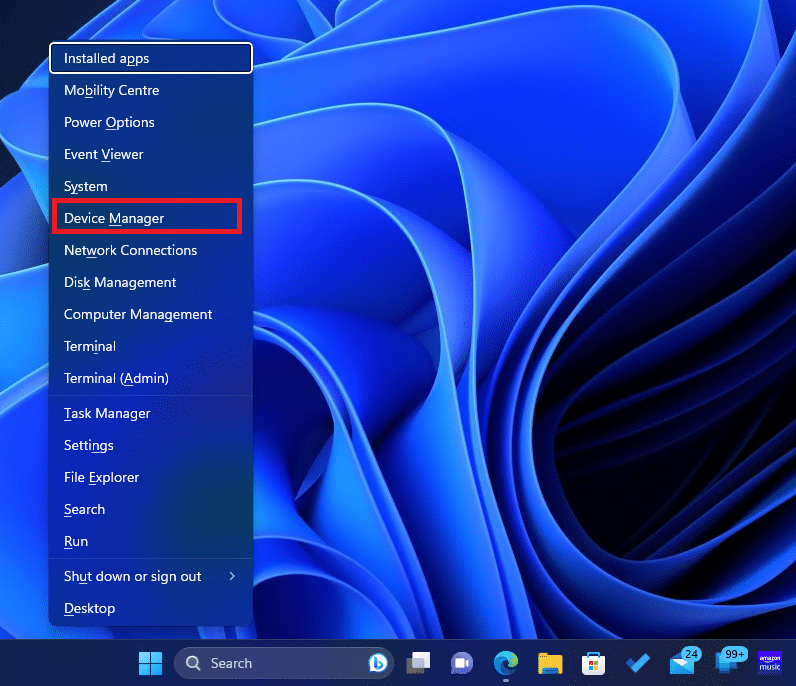
- Press Windows + X keys together on your keyboard, and then click on Device Manager on the menu.
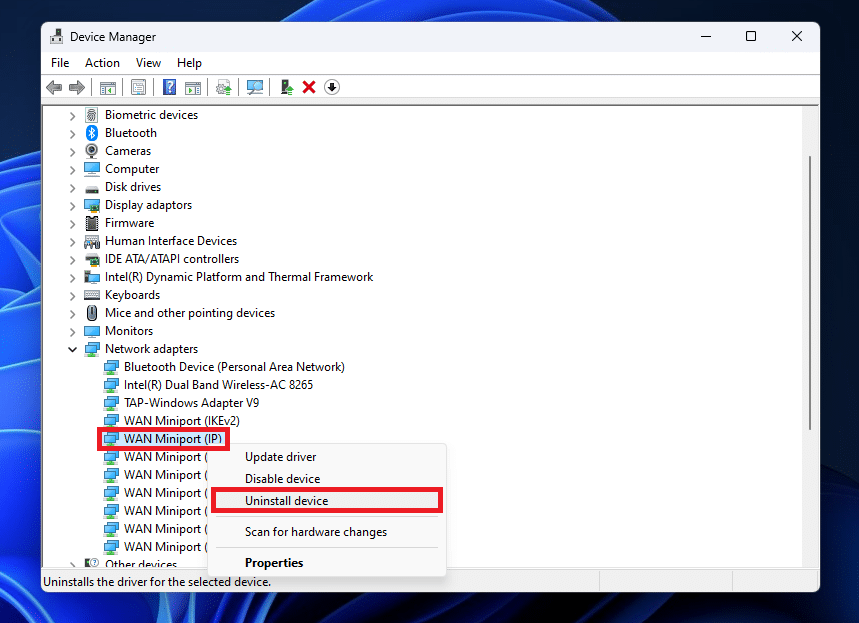
- Now, double-click on Network Adapters. This will expand the list, and you will see all the network drivers.

- Right-click on WAN Miniport (IP) and then click on Uninstall Device.
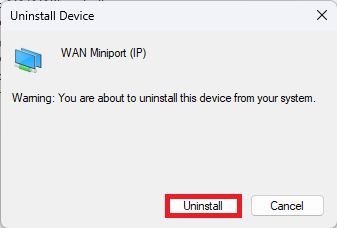
- Click Uninstall to confirm removing the driver.
- Uninstall WAN Miniport (IPv6) and WAN Miniport (PPTP) drivers similarly.
- Once you have uninstalled all three drivers, close the Device Manager and reboot your Windows 11 PC.
- Reboot should automatically reinstall the drivers. To reconfirm it, open the Device Manager and expand the Network Adapters list.
- You should see all three drivers that you uninstalled here. If you don’t find them, then click on the Action tab at the top and then on Scan for Hardware Changes.
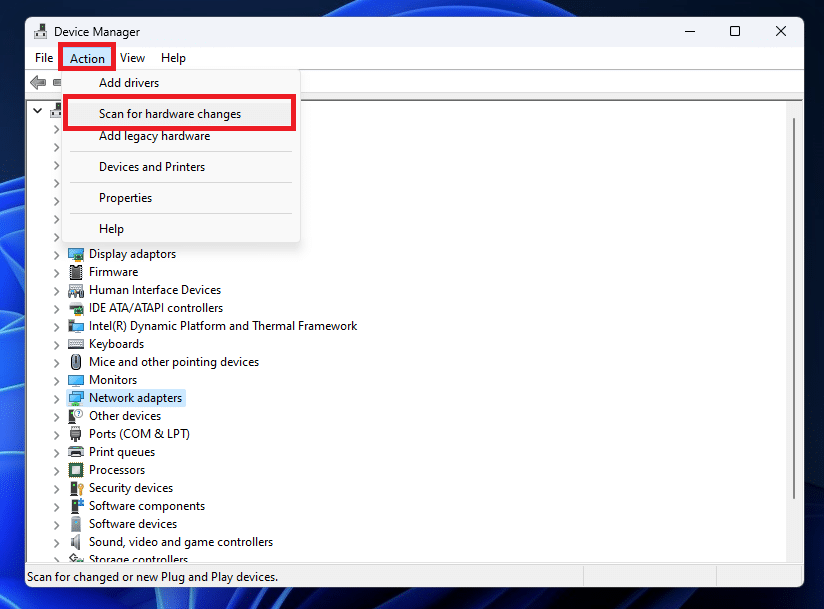
- This should reinstall the WAN network drivers.
After you have reinstalled the network drivers, see if the issue is resolved.
2. Update Windows 11
The issue can also be encountered if you are not running the latest version of Windows 11 or if you have some pending updates.
Windows Update comes with new improvements and bug patches, so it is advised to install them to keep your system in optimal condition.
You can update your Windows 11 PC by following the steps below-
- Open the Windows Search by pressing Windows + S keyboard shortcut.
- Type Check for Updates and press Enter.
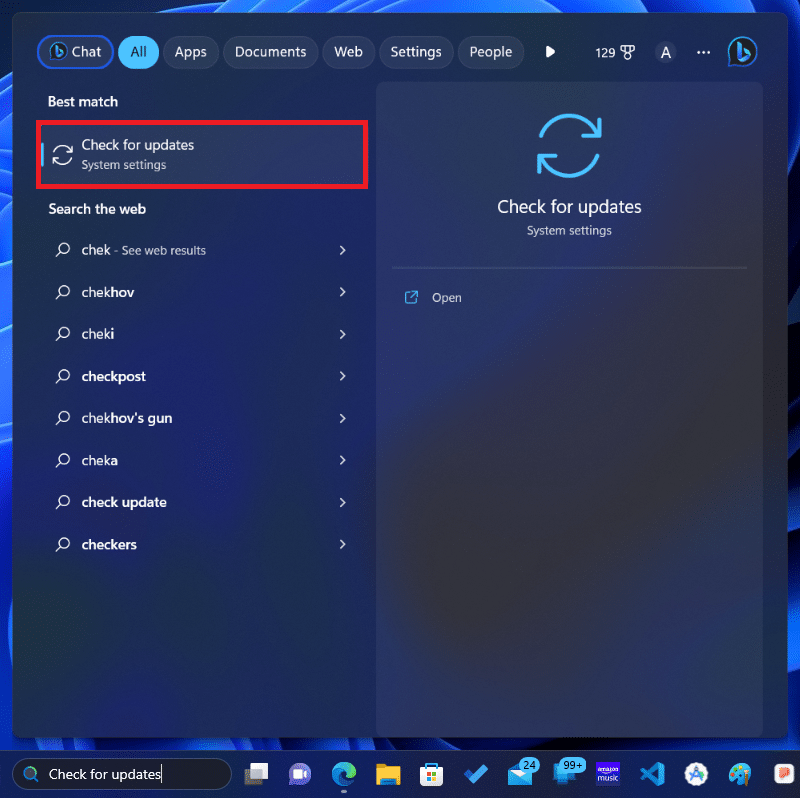
- Now, click on the Check for Updates button on the right pane.

- You will see that Settings will begin scanning for the available update.
- If updates are found, then you will have to install them. Click on Download and Install button next to each update to install them.
3. Flush DNS
You can try flushing DNS if the VPN is not working on your Windows 11 PC.
This will not only resolve the issue with your VPN but can also resolve issues with the internet connectivity.
You can Flush DNS through the steps given below-
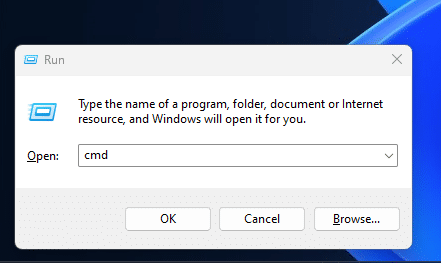
- Press Windows + R keyboard shortcut to conjure the Run Dialog.
- Here, type cmd and press Ctrl + Shift + Enter. This is to run the Command prompt as administrator.
- To flush the DNS, copy the commands mentioned below and execute them one after another-
- ipconfig /release
- ipconfig /flushdns
- ipconfig /renew
- netsh int ip reset
- netsh winsock reset
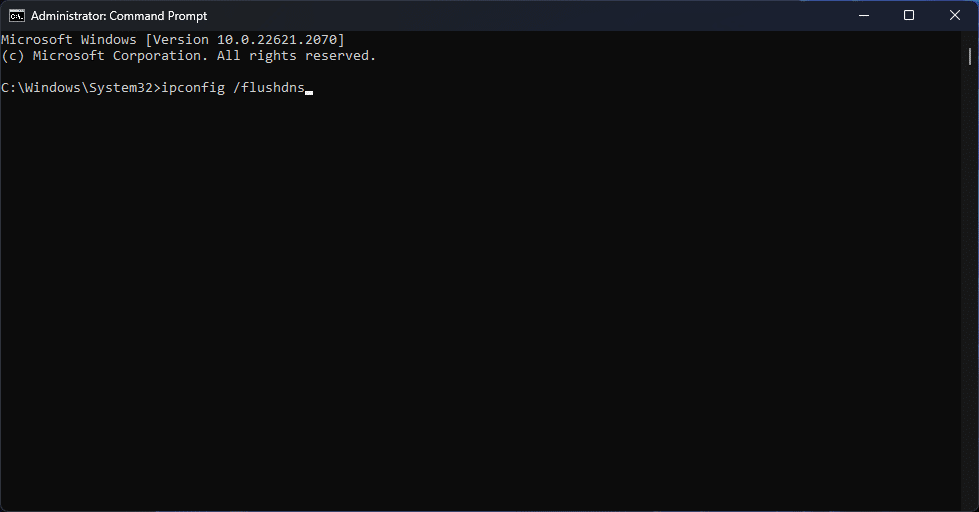
Note- Do not execute the commands all at once. Execute one command, wait for the process to complete, and then execute the next one.
- After you have executed all the above commands, restart your PC.
4. Turn Off Proxy
Proxy can also be the reason behind Windows 11 VPN not working. If you have Proxy turned off, consider turning it off and then check if you can use the VPN on your PC.
- Open the Start Menu by clicking on the Start icon.
- Now, type Proxy Settings in the search bar and then press Enter.

- Toggle off the Automatically detect settings option.
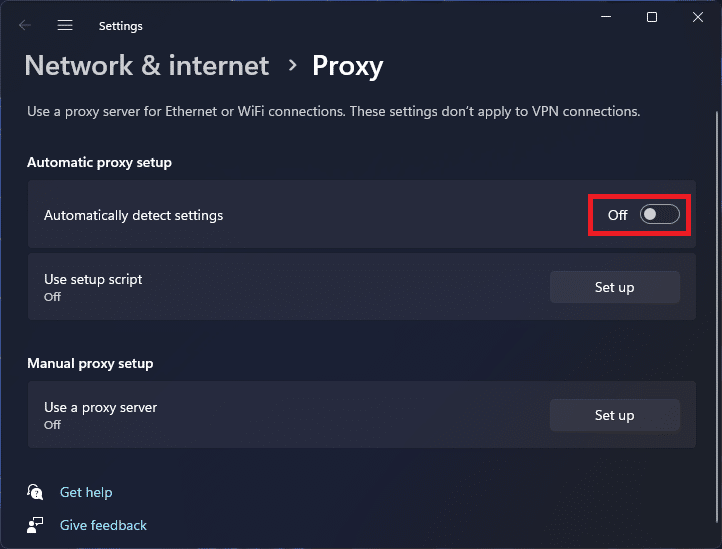
- You will see a Set Up button next to Use a Proxy Server; click on this button.
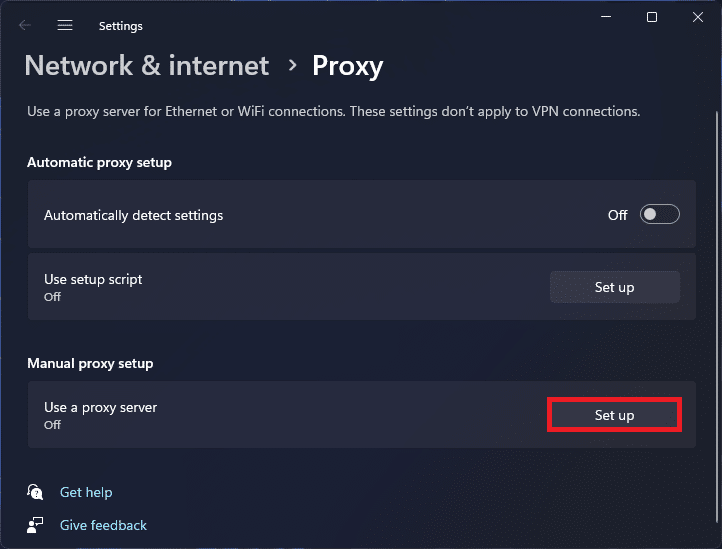
- Turn off the toggle under the Use a Proxy Server, and click on Save.
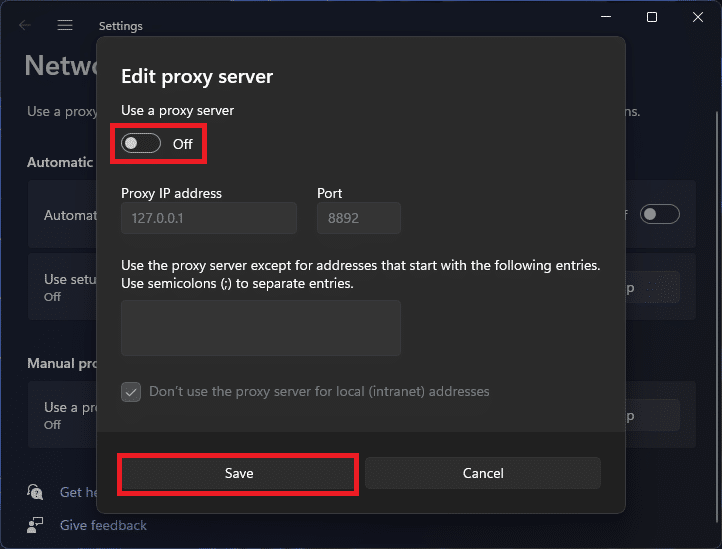
This will turn off the Proxy. Check VPN to see if it is working or not.
5. Turn Off Firewall
If you have been facing issues file using VPN on your Windows 11 PC, then it can be due to the firewall.
Many times, firewall settings can block the VPN and cause such issues.
In that case, you must turn off the firewall to fix the issue. You can do it by following the steps given below-
- Press Windows key and search for Windows Defender Firewall, and open it.
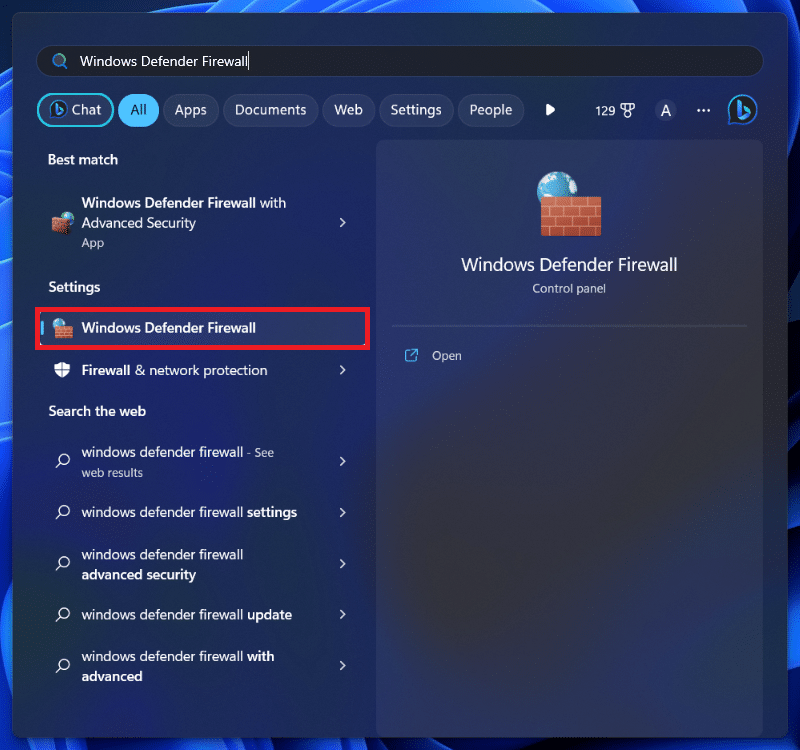
- On the left pane, click on Turn Windows Defender Firewall On or Off.
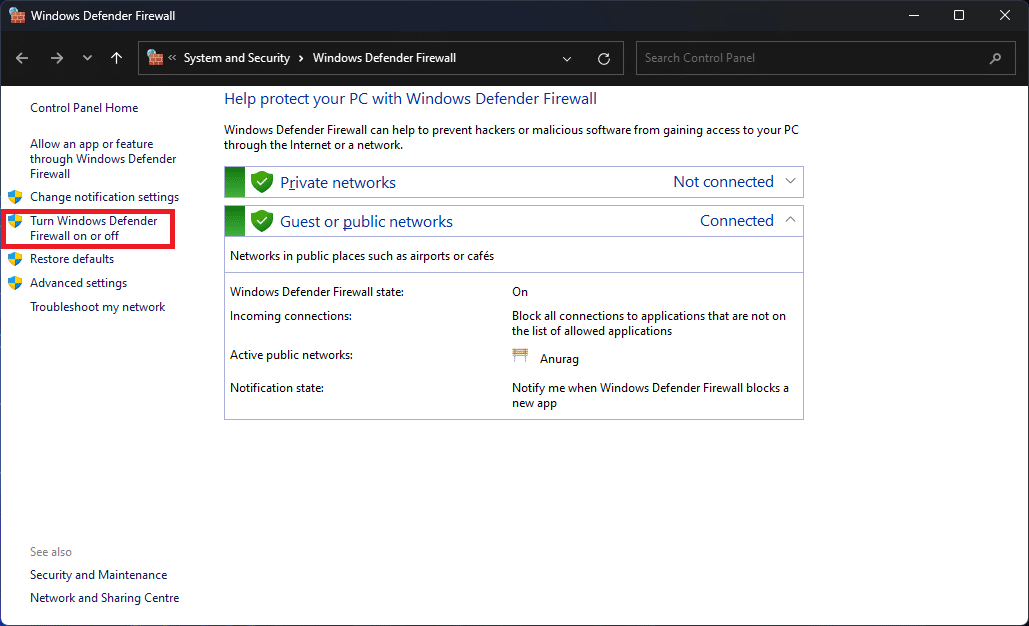
- Select Turn off Windows Defender Firewall (not recommended) for Private network settings and Public Network Settings.
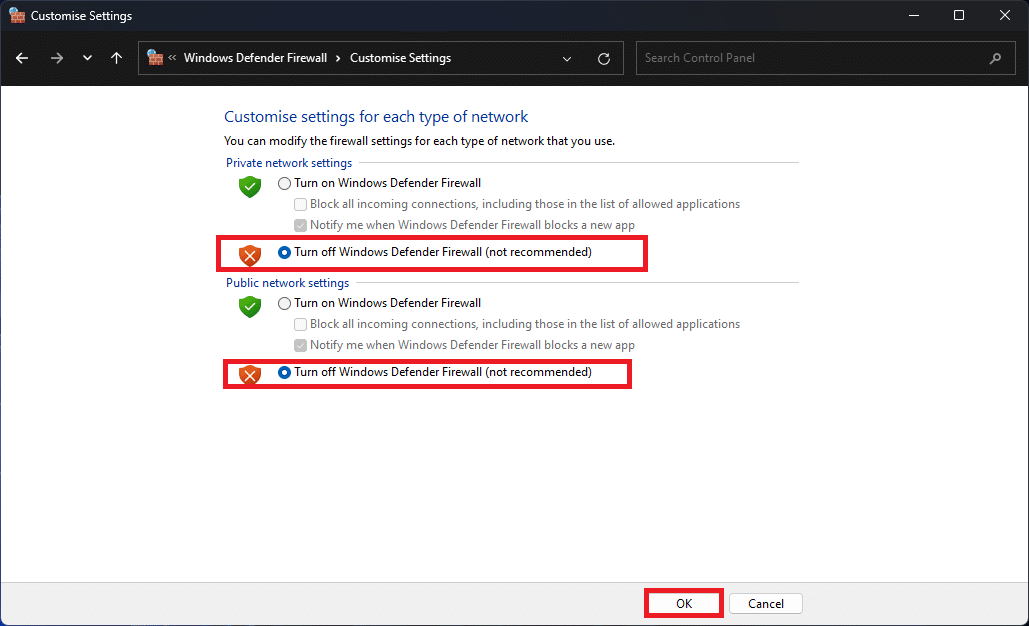
- Once done, click on OK to save changes.
6. Turn Off IPv6 For VPN Network Adapter
IPv6 can also cause this issue with the VPN on your PC.
Try turning off IPv6 for your VPN network adapter and then check if you still face the issue. This is how you can do it-
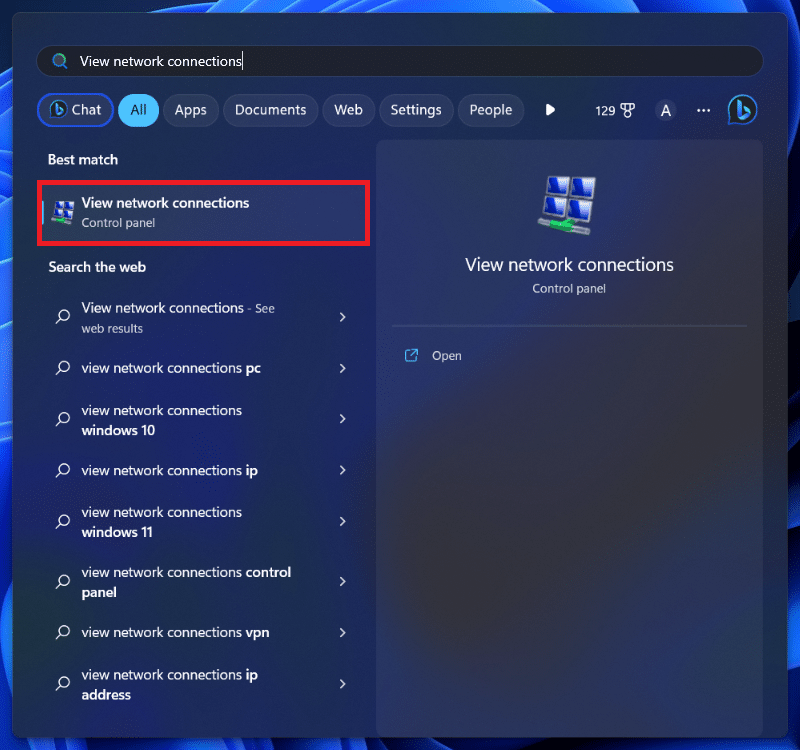
- Open the Start Menu by clicking on the Start icon on the taskbar.
- Here, search for View Network Connections and open it.
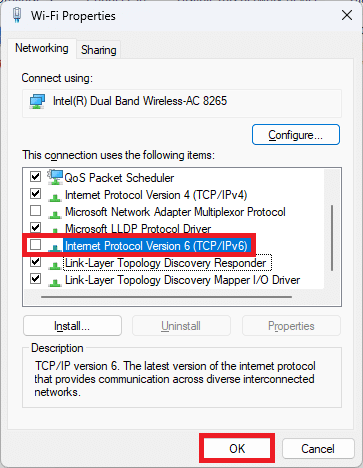
- Right-click on your VPN’s network adapter and then click on Properties.
- Now, uncheck the Internet Protocol Version 6 (TCP/IPv6), and click OK.
7. Setup Exception For UDP
If Windows 11 VPN is still not working, try setting up an exception for UDP. You can do this by making some changes to the Registry Editor. Here’s how-
- Click the Start icon and search for Registry Editor in the Start Menu. Now, open the Registry Editor.
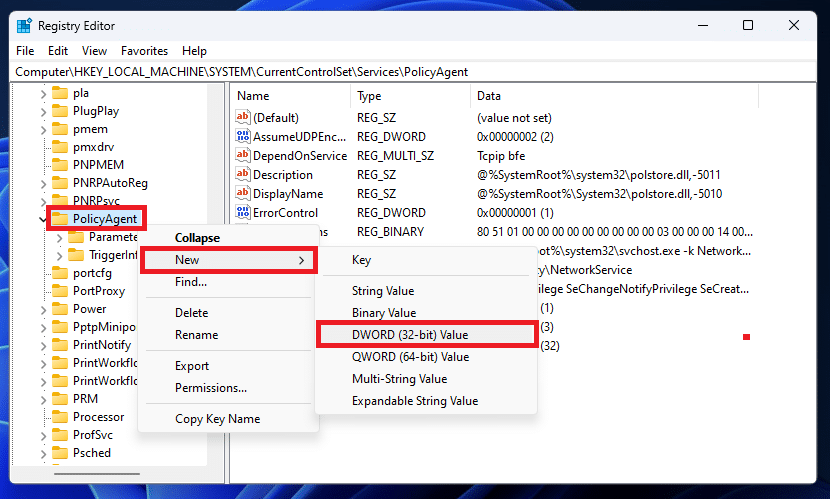
- Once in Registry Editor, navigate to the following address by copying and pasting it into the address bar at the top-
- HKEY_LOCAL_MACHINE\SYSTEM\CurrentControlSet\Services\PolicyAgent
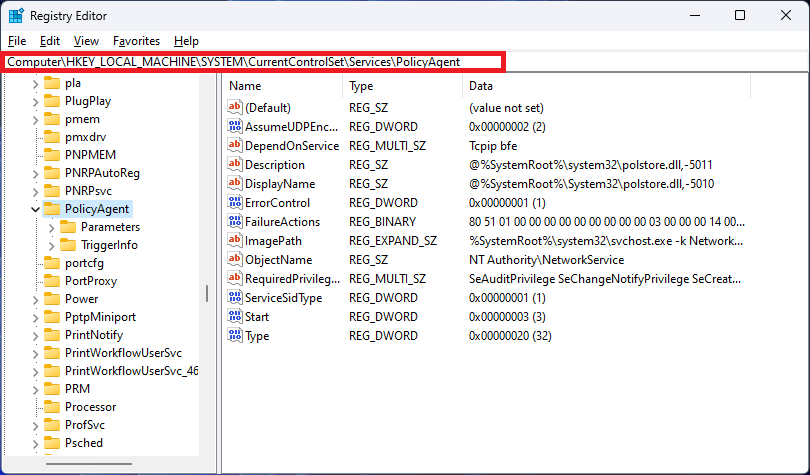
- Here, look for AssumeUDPEncapsulationContextOnSendRule on the right side. If it is not available then do the following-
- On the left pane, right-click on Policy Agent. Now, click on New and then on DWORD (32-bit) Value.
-
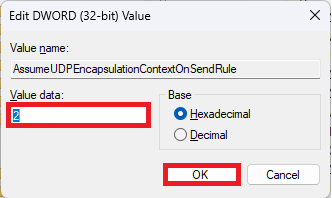
- Set the name of the new DWORD as AssumeUDPEncapsulationContextOnSendRule.
- Double-click on the AssumeUDPEncapsulationContextOnSendRule to edit it.
- Type 2 on the field under Value Data, and click on OK.
- Now, close the Registry Editor and restart your PC.
8. Clean Boot Your PC
Sometimes third-party applications and services running on your system can also cause issues with your VPN.
You can clean and boot your PC to avoid this problem with the VPN.
In the clean boot, your PC will start with minimal services and applications (mostly default services and apps from Microsoft) and block all the other third-party services.
If the issue is encountered due to third-party services and apps, you won’t encounter it after a clean boot. Here’s how you can do it-
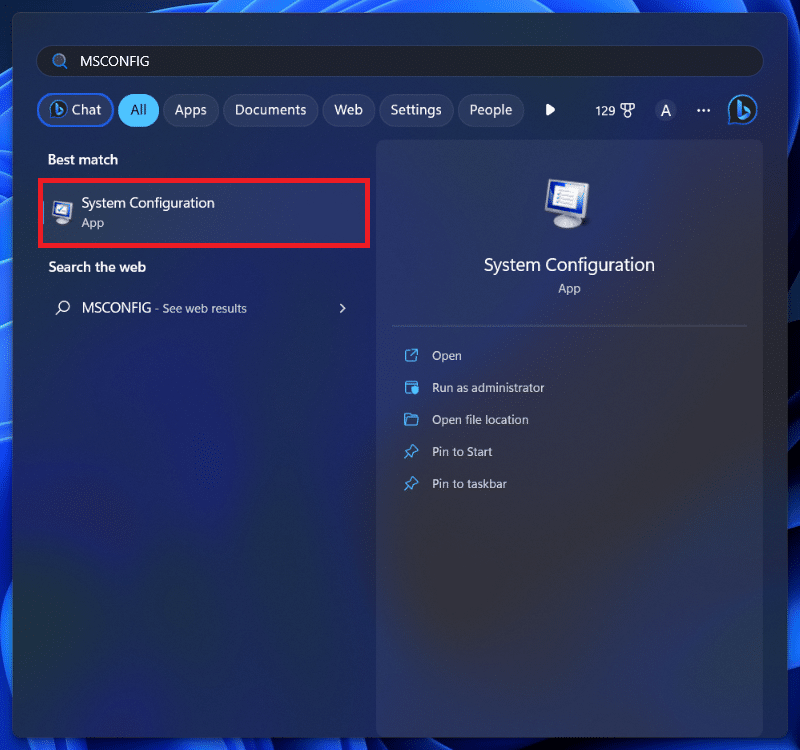
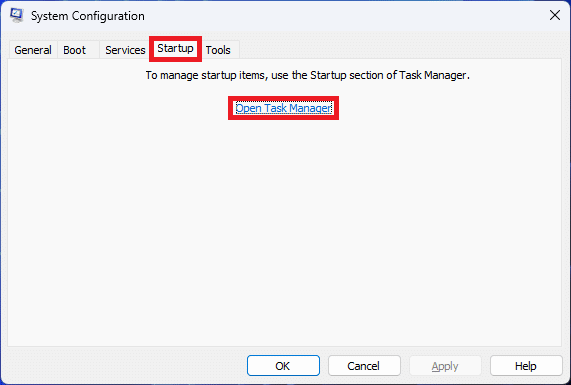
- Press the Windows key and type msconfig. Press Enter on your keyboard, and this will open the System Configuration.
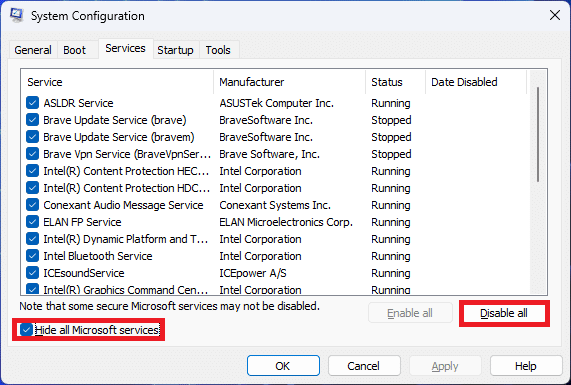
- Click on the Services tab.
- Now, check the option saying Hide All Microsoft Services. Click on Disable All. This will disable all the services apart from Microsoft Services.
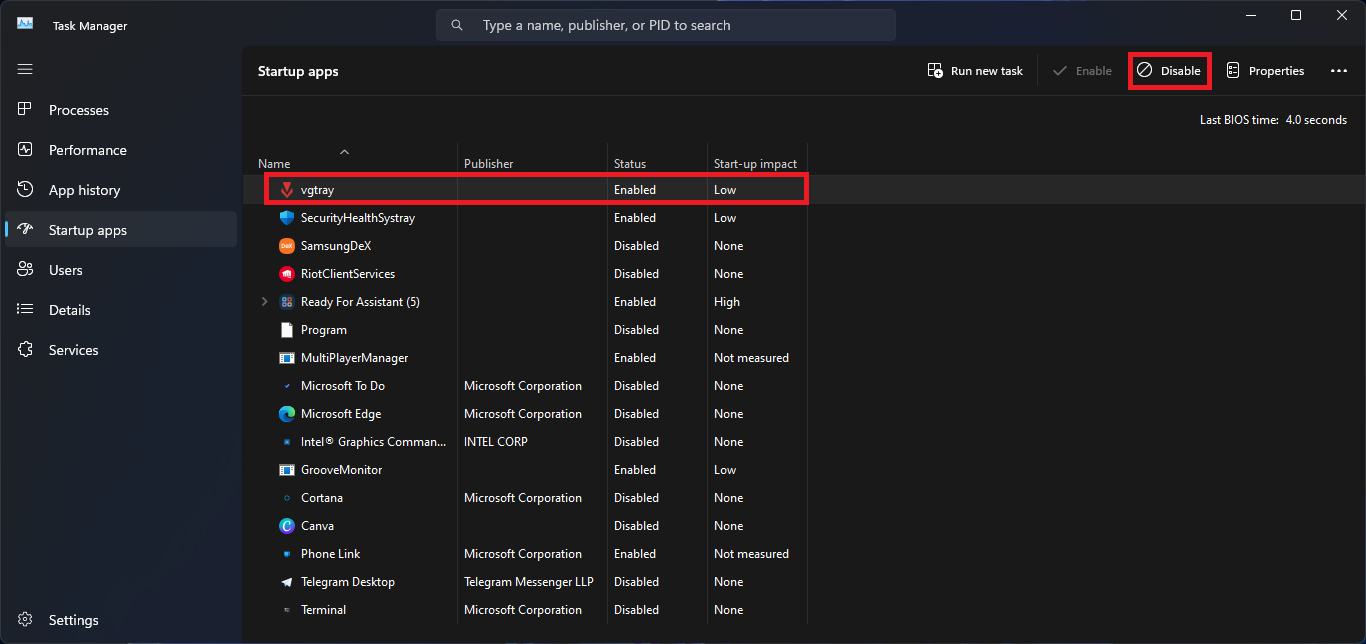
- Head to the Startup tab and click on Open Task Manager. This will take you to the Startup tab in the Task Manager.
- Select one startup app and click on Disable. Similarly, disable all the other startup apps here.
- After this, restart your PC. This will start your PC without third-party apps and services.
- Connect to the VPN client and see if you still face the issue.
9. Use Third-Party VPN App
If you are facing issues with the in-built VPN, try using a third-party VPN on your PC. You can encounter this issue due to bugs within the system.
To avoid this, you can install and use a dedicated VPN service on your system.
10. Reset PC
If you have followed all the above steps and even tried using the third-party VPN app on your PC, but not of it seems to solve your issue, then you should reset your PC.
This issue can be due to apps installed or misconfigured settings of your Windows PC.
Resetting the PC will revert all the changes and restore your system to factory default.
Also, when you reset your PC, all the data on your PC will be deleted.
You must have a backup of the data on your PC so you can restore it after you have reset your PC.
Follow the steps given below to reset Windows 11-
- Open the Start Menu, type Reset This PC, and press Enter.
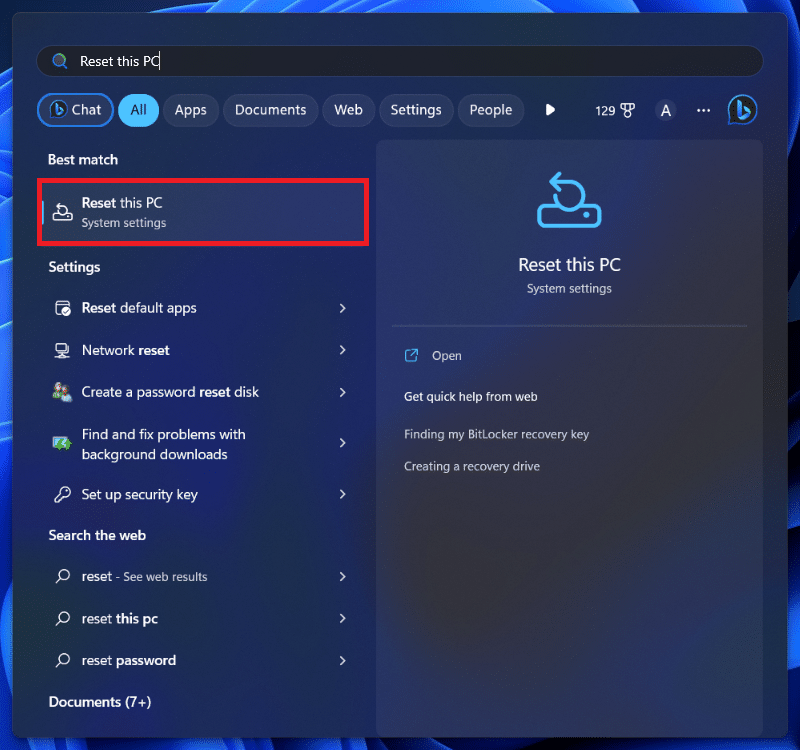
- Now, click on the Reset PC button.
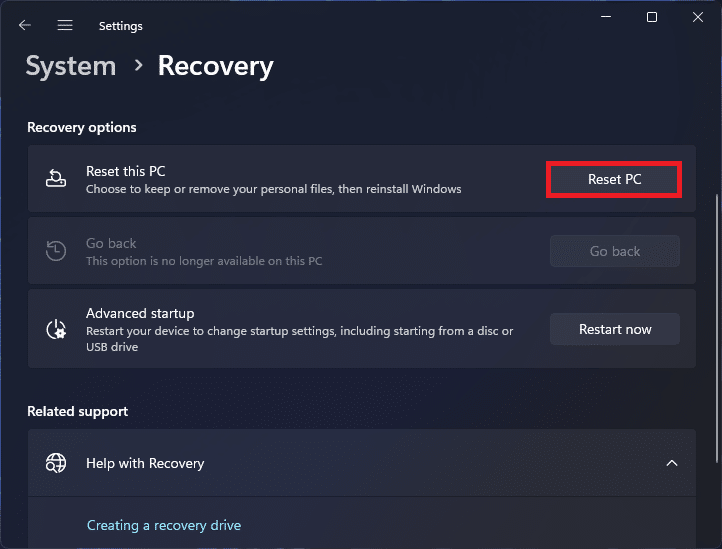
- You will see two options- Keep My Files, and Remove Everything. Select one of the two options to continue.

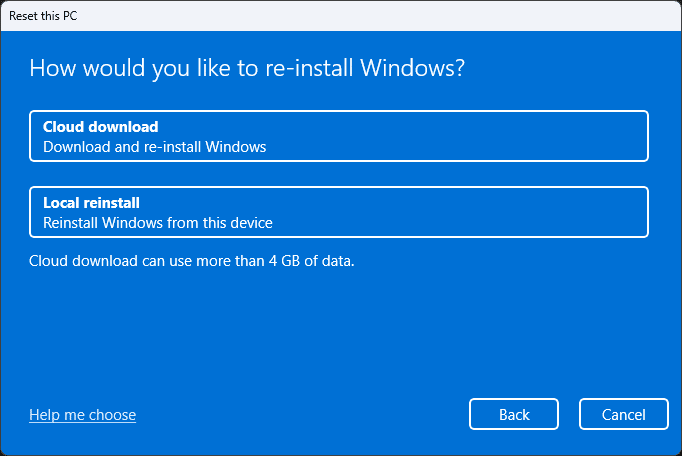
- Now, select Cloud Download to download and reinstall Windows from the internet. If you already have a Windows setup file, you can go with Local Reinstall.
- Follow the instructions given on-screen to successfully reset your Windows PC.
- After the reset, set up your device and use VPN without any issues.
Note- If you are using a laptop, then connect your laptop to a power source before resetting it.
Final Words
It is common to face issues like Windows 11 VPN not working. In most cases, the issue is encountered due to a temporary glitch and gets fixed on its own.
If not, you can follow the above steps to solve the issue with Windows 11 VPN.
