Follow Amazon’s Official Guide for Building Your Own Alexa Device with a Raspberry Pi
If you ever wanted to make your own Alexa device, the only thing that you will require is a Raspberry Pi, and the rest is going to be handled by Amazon. That is correct, the leading e-commerce giant has made its own guide on how you can make your own device through a Raspberry Pi. You will be using the Node.js server to get a Login with Amazon authorization code by visiting a website using your computer’s web browser.
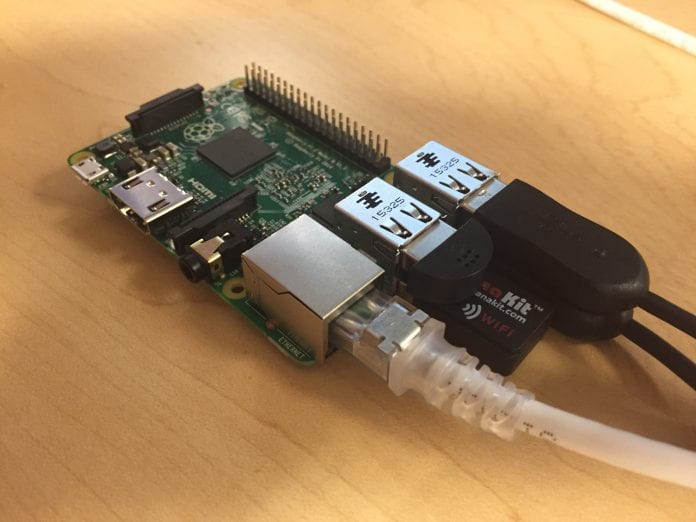
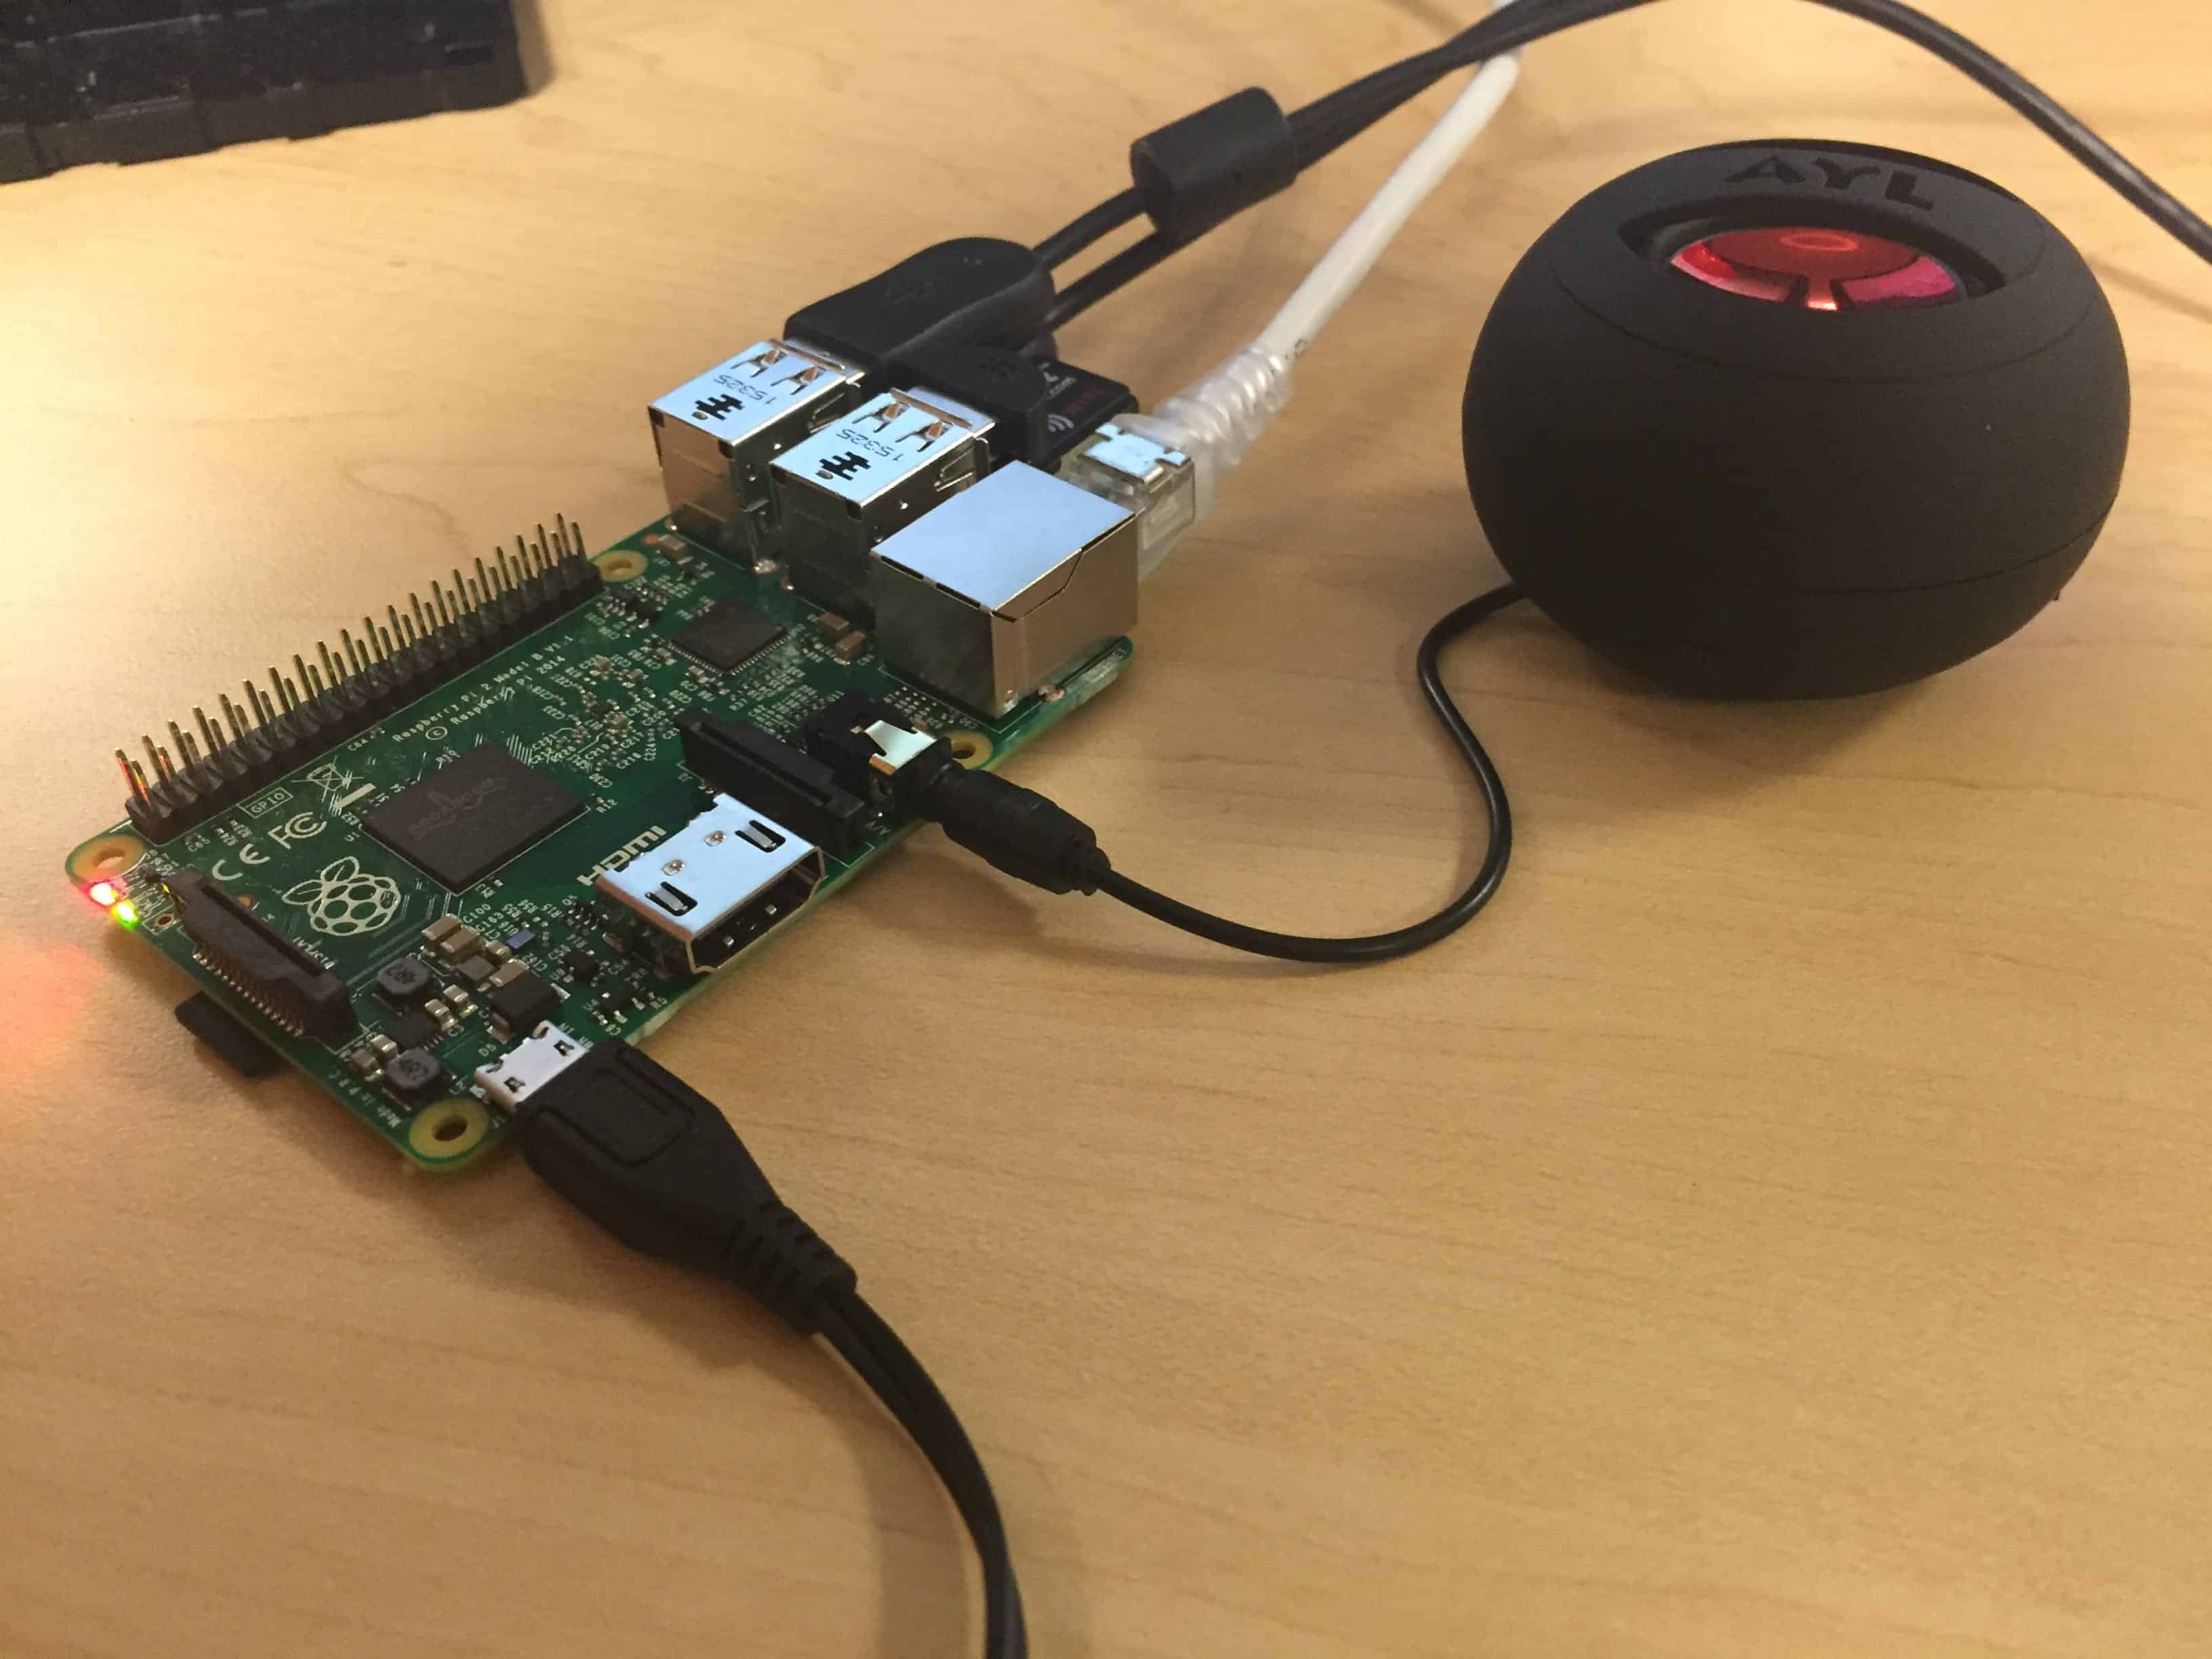
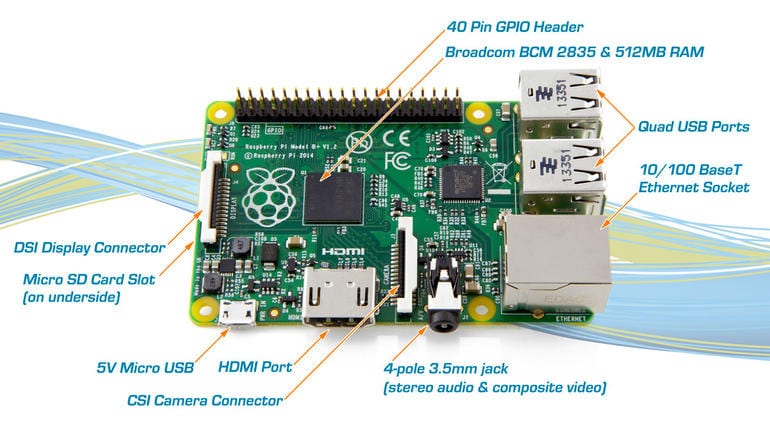
The guide is very detailed and provides a step-by-step instruction for obtaining the sample code, the dependencies, and the hardware you need to get the reference implementation running on your Pi. Given below is the hardware that you will require in order to build your own Alexa device.
• Raspberry Pi 2 (Model B)
• MicroUSB power cable for Raspberry Pi (normally, it is included with Raspberry Pi)
• MicroSD Card
• An Ethernet cable
• USB 2.0 Mini microphone
• A USB Keyboard
• A USB Mouse
• An external HDMI Monitor
• Wi-Fi Wireless Adapter
Additionally, you will also need to display basic knowledge surrounding programming if you are to succeed in making this DIY project. All detailed instructions have been given at GitHub, so if you are ever interested in making your own Alexa device, Amazon is definitely here to give you a helping hand.


