
Google’s Play Store is the official App Store for Android users provided by Google LLC.
It provides apps, games, movies, books, and music downloads that are used by millions of Android smartphones, TVs, and tablet users.
While Windows has its own app store called Microsoft Store which has several apps and themes for PC.
It may not be sufficiently equipped for users who want to use Android apps on Windows PC.
Unfortunately, there’s no official version of the Google Play Store available for Windows 10/11 PCs and Laptops.
That said, there are several workarounds to get fully functioning ways to download the Google Play store On PC.
Below we have shared some of the best ways using which you can download Play Store for PC.
Table Of Contents
Google Play Store for PC
- Developer- Google LLC
- Size- 35.87 MB
- Requirements- Windows 7,10,11
Google Play Store Download For PC (Windows 10, 8, 7)
As stated earlier, there’s no official version of the Google Play store available for Windows PC.
However, you can use Android Emulators to get a fully functioning PlayStore on Windows 10 pc and use it to Download Android Apps On a PC.
Alternatively, you can also install Android OS on Your PC to use Playstore.
Now there are countless Android Emulators out there but to help you out we have curated a list of the Best Android Emulators For Windows PC And Mac.
You can check out this list and choose an emulator that best suits your requirements.
Now follow these simple steps to download and install Google Play Store on Windows 10 PC,
- Firstly download the setup file of the emulator of your choice and install it on your PC. You can rely on the on-screen instructions for installing the emulator
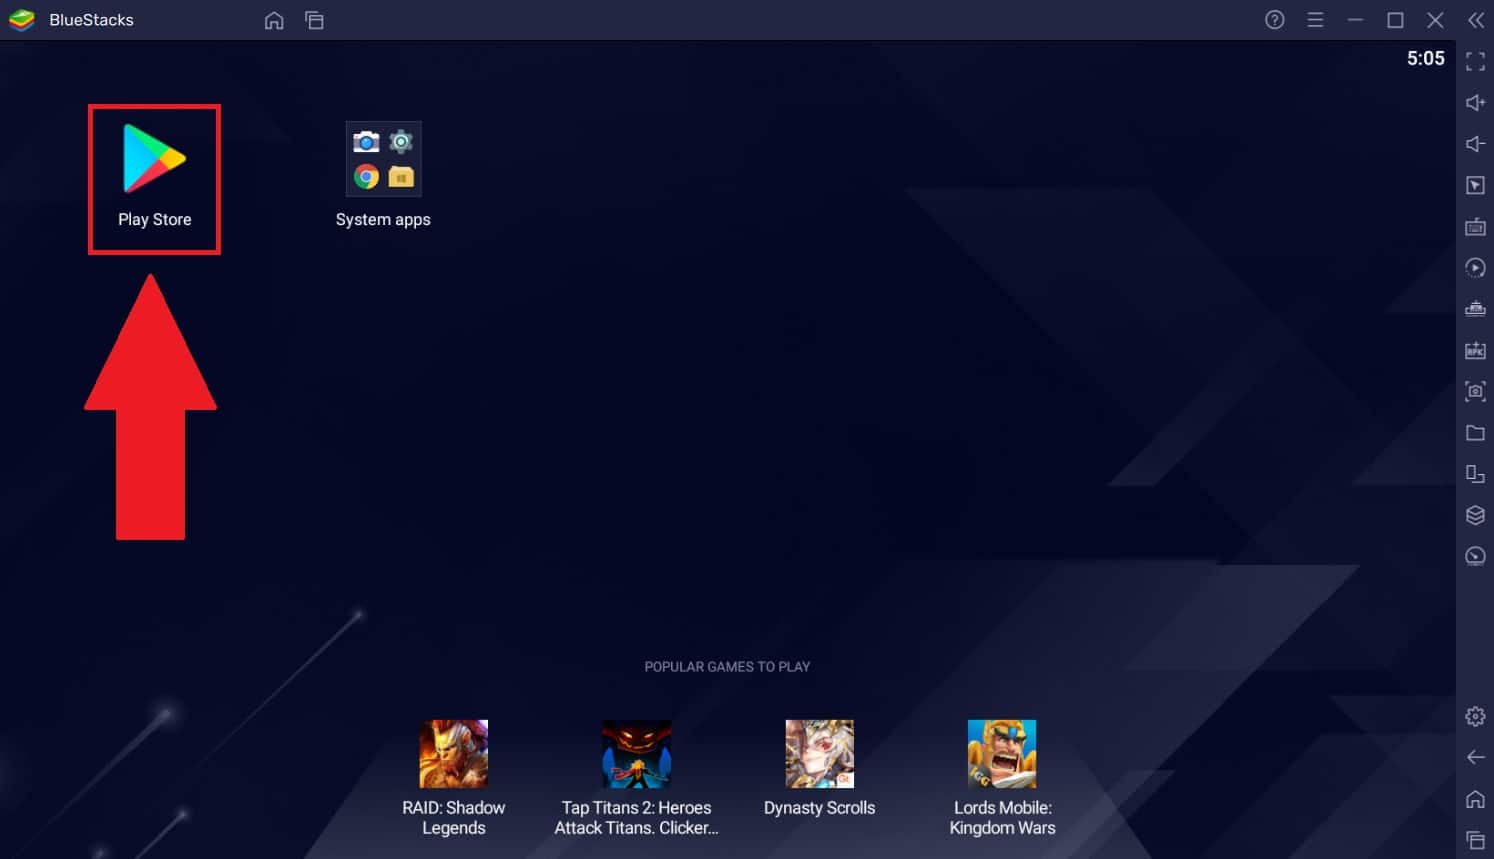
- Now launch the emulator and find Google Playstore. A majority of emulators come with the Google Play store preinstalled.
- Lastly, sign in to your Google account to start using Google Play to install Android Apps on Windows PC.
The aforementioned steps will be similar no matter what emulator you choose.
You can legally download all Android apps and games from Playstore using this method.
Download Google Play Store For Windows 11 PC
Windows 11 allows users to install the Windows Subsystem for Android (WSA) to run Android apps natively. This eliminates the need of downloading emulators to run Android apps on Windows 11.
To get Android apps on Windows 11 you can either sideload them or use the Amazon app store.
Here is how to install the Play Store on Windows 11 PC by removing WSA.
The process is quite long so take your time and follow each instruction carefully. Lastly, to avoid any problems take a complete backup and create a restore point in Windows 11 or a recovery drive.
Step 1: Uninstall Android Subsystem For Android
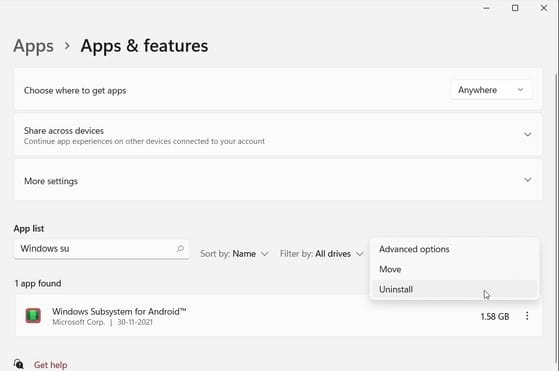
To begin with, you have to get rid of Windows Subsystem for Android. If it’s installed on your PC simply uninstall it.
You can locate it in the Apps > Apps & features section of Windows 11 settings. After locating Windows Subsystem for Android under the Apps list press the three dots and click uninstall. The first step is successfully completed moving on to the next one.
Step 2: Enable Developer Mode in Windows 11
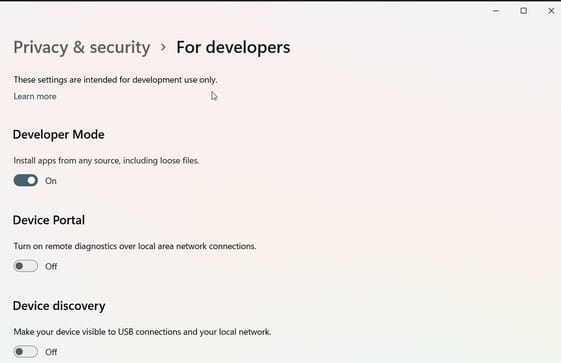
For the next step, we have to enable developer mode in Windows 11. Enabling the developer mode won’t cause any problems with Windows 11.
To enable developers mode once again open Windows 11 settings and then select the Privacy and Security tab. Next, select For Developers and turn on Developers Mode.
Step 3: Enable Virtual Machine
In order to run Windows Subsystem for Android on Windows 11, we have to configure the Virtual Machine Platform and Windows Hypervisor Platform.
To do so follow these simple steps.
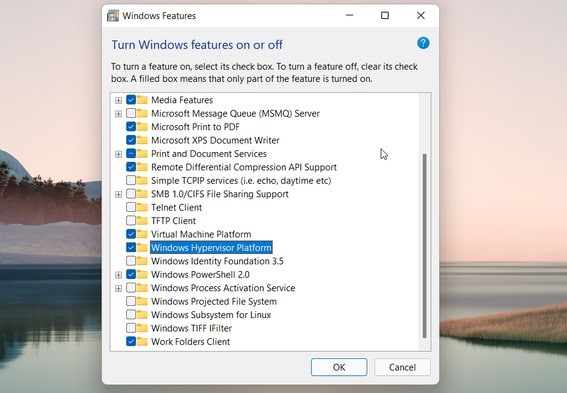
- Firstly type Windows Feature in the Windows 11 search bar and select Turn Windows features on or off.
- You have to now select and tick Virtual Machine Platform and Windows Hypervisor Platform in Windows Feature.
- Lastly, press Ok and restart your PC.
If everything goes well you will see an update message while your computer restarts.
If you already had Virtual Machine Platform and Windows Hypervisor Platform toggled on then there’s no need to restart.
Step 4: Download Integrated Windows Subsystem for Android Package
In this step, we will be downloading the WSA installer from a GitHub repository. Follow these steps to do so,
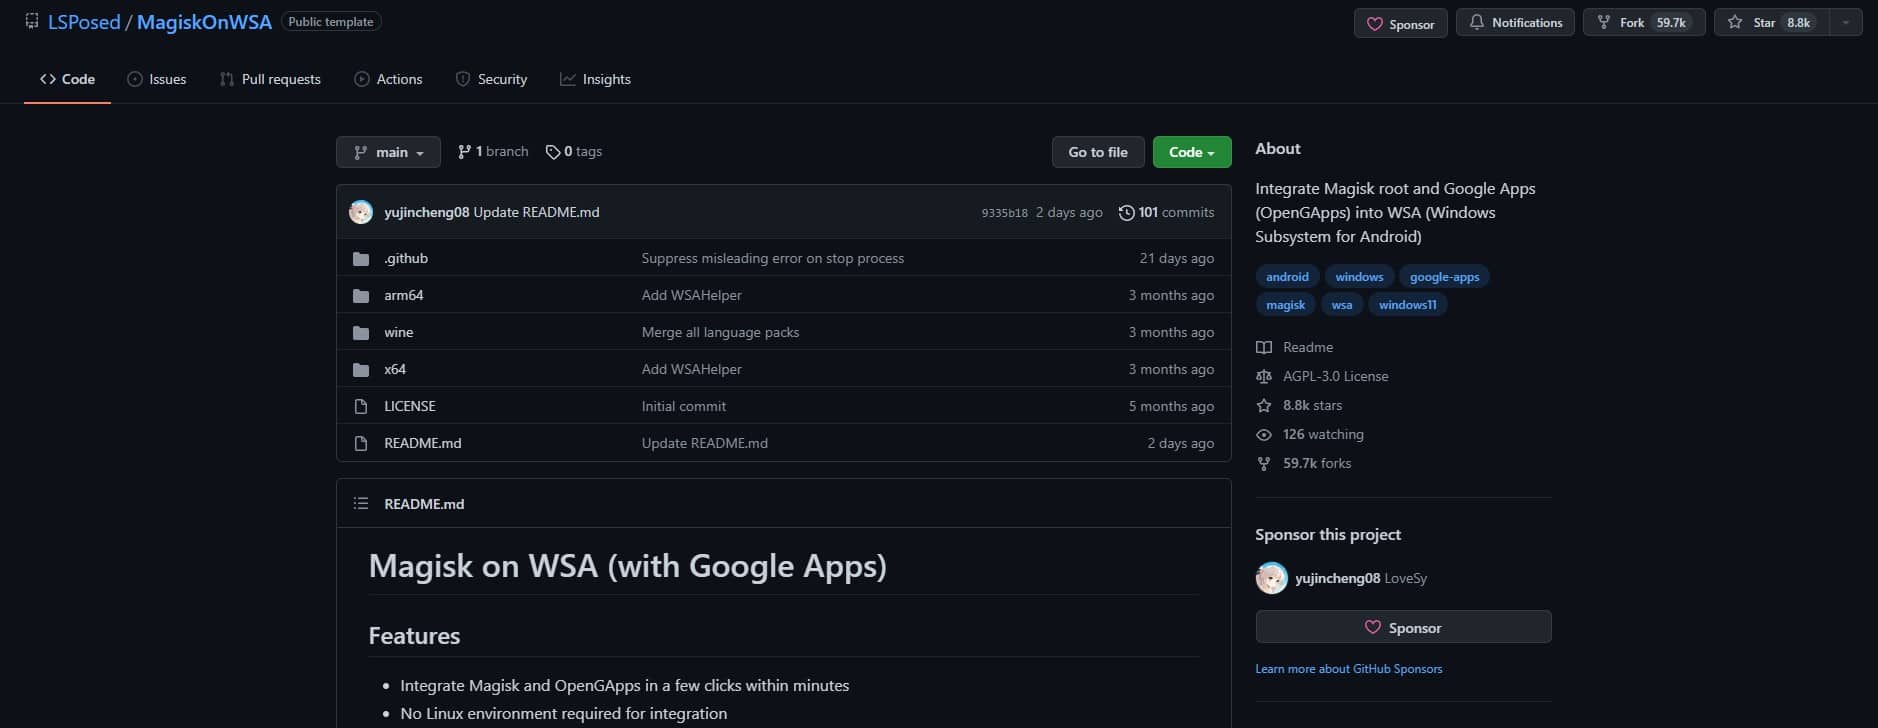
- Firstly, open the MagiskOnWSA repository and ensure that you are signed in to your GitHub account.
- Next, click on Fork on the top-right corner of your GitHub page, and once it opens up click on the Actions tab.
- If you see the Workflows aren’t being run on this forked repository prompt, then select I understand my workflows, go ahead and enable them.
- In the Actions tab, click on Build WSA or Magisk under All workflow.
- Next, Click on Run workflow in the right panel.
- In the pop-up, a download link to the magisk APK will appear.
- Next, type pico under Variants of GApps.
- Click the Run workflow button. You should see a status message Workflow run was successfully requested.
- Once the process is completed, you will see a green checkmark. Do note that it will take some time to get completed.
- Click on the completed Build WSA or Magisk label.
- Scroll down to the Artifacts section. Here you should see the ARM and X64 version.
- Depending on your CPU type, click on the appropriate WSA with Magisk GApps link (ARM or X64).
Once the download is completed move on to the last step.
Step 5: Install Google Play Store on Windows 11
Follow these last steps to get a fully functioning Google Play Store on your Windows 11 PC.
- Right-click on the downloaded zip folder and extract it to the location of your choice.
- Open the WSA with Magic GApps folder.
- Inside the folder, locate the Install.ps1 file. Once located, right-click on the file, and select Run with PowerShell.
- Click Open to confirm the action. The PowerShell script will execute and show the operation completed successfully message.
- You may see a few new installation notifications. So let the installation get completed and don’t manually close the PowerShell window, the script will do so automatically.
- Next in the search bar type Windows Subsystem for Android and open it.
- You have to now click on Manage Developer Settings under Developer Mode to restart the subsystem.
- Click Allow/Yes if prompted by Windows Firewall.
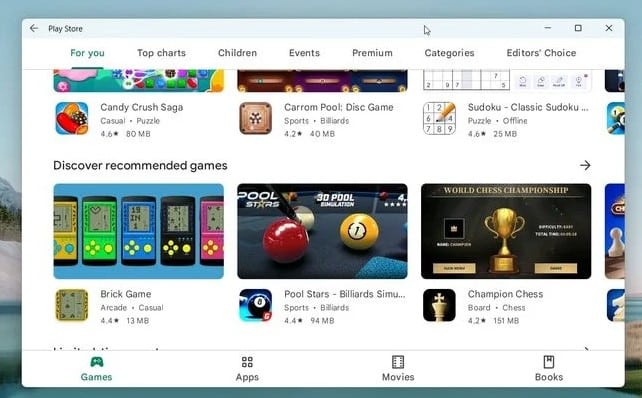
- Click on Start, and you should see the Play Store app icon.
Similar to emulators Open Play Store and sign in with your Google account.
You can now download and use any Android app or game of your choice natively on your Windows 11 PC.
CONCLUSION
So this was an easy-to-follow guide on how to download and install Google Play Store For Windows PC and Laptops.
If you still face any problems feel free to let us know in the comments section below.
