
If you like fiddling around with your Android phone or tablet, then you might have come across ADB and Fastboot tools.
For those who don’t know what it is, ADB and Fastboot tools are command line tools that form the bridge between your phone and PC and help you modify your Android device by allowing you to flash custom ROMs, making changes to internal files, uninstall bloatware and apps, root device and much more.
You will have to use certain commands to change your Android device. But what are these commands?
We have brought to you the ADB command list, which includes all the ADB commands that you can use to modify the Android phone/tablet.
These commands are universal and work on Windows, Linux, and Mac.
Table Of Contents
How to Setup ADB and Fastboot Tools?
Before using ADB commands, you must set up ADB and Fastboot Tools on your PC and connect your phone to your PC. You can follow the steps given below to do this-
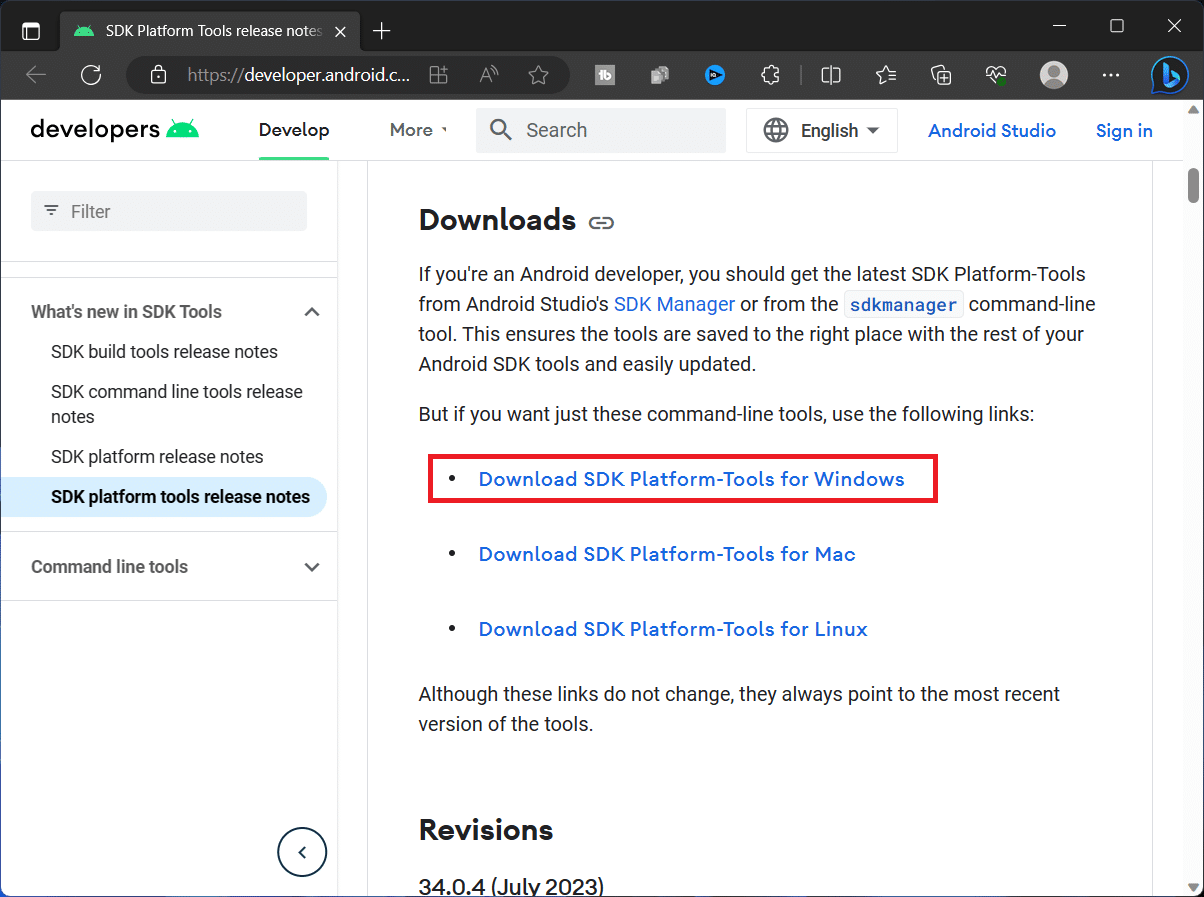
- Head to the SDK Platform Tools website on your PC’s browser.
- Scroll down to the Downloads section, and you will see three download links, i.e., for Windows, Mac, and Linux.
- Click on the respective download link depending on your system’s OS to download ADB and Fastboot Tools. Here, we are using the Download SDK Platform-Tools for Windows link to download the tool for Windows PC.
- Once downloaded, open File Explorer and navigate to the path where the path has been saved.
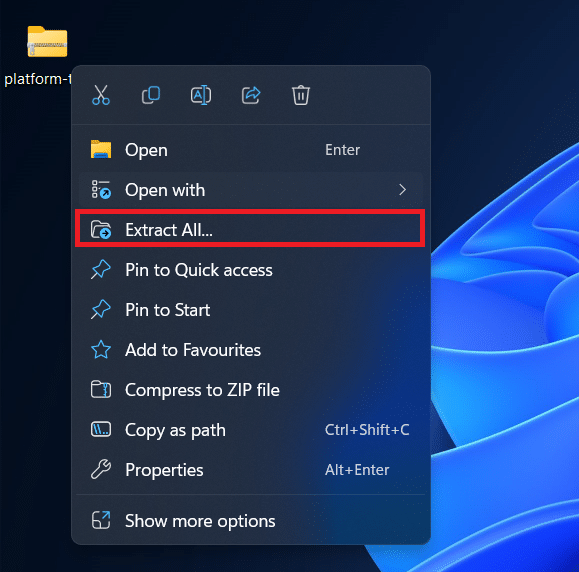
- The downloaded file will be a ZIP file, so you must extract it. Right-click on the file and then click on Extract All.
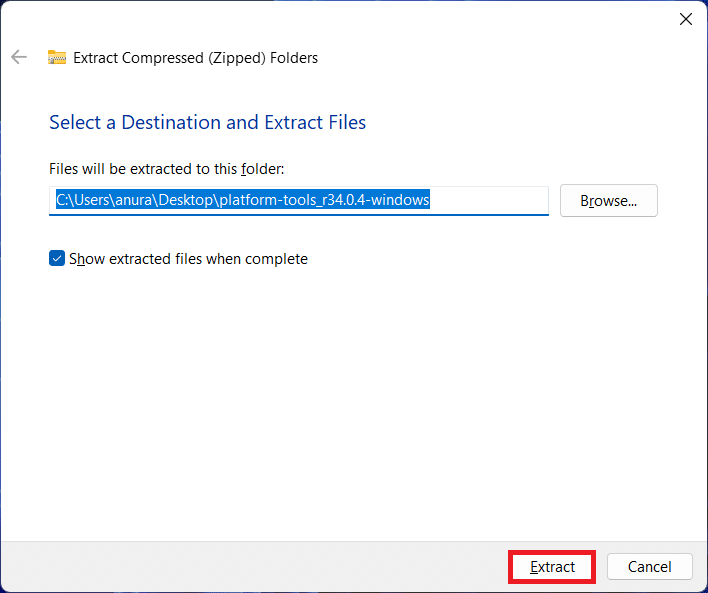
- Select the path to extract it and then click on the Extract button.
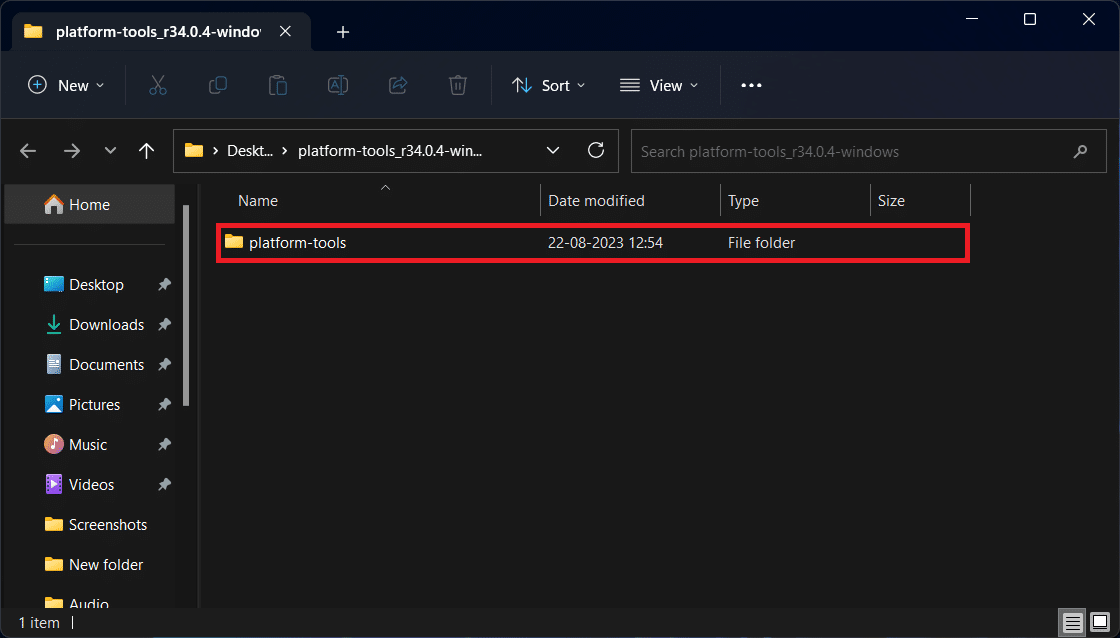
- After extracting the file, double-click on the platform-tools folder to open it. Do not close the folder, as you will need it ahead.
- Now, head to the Settings app on your Android phone or tablet.
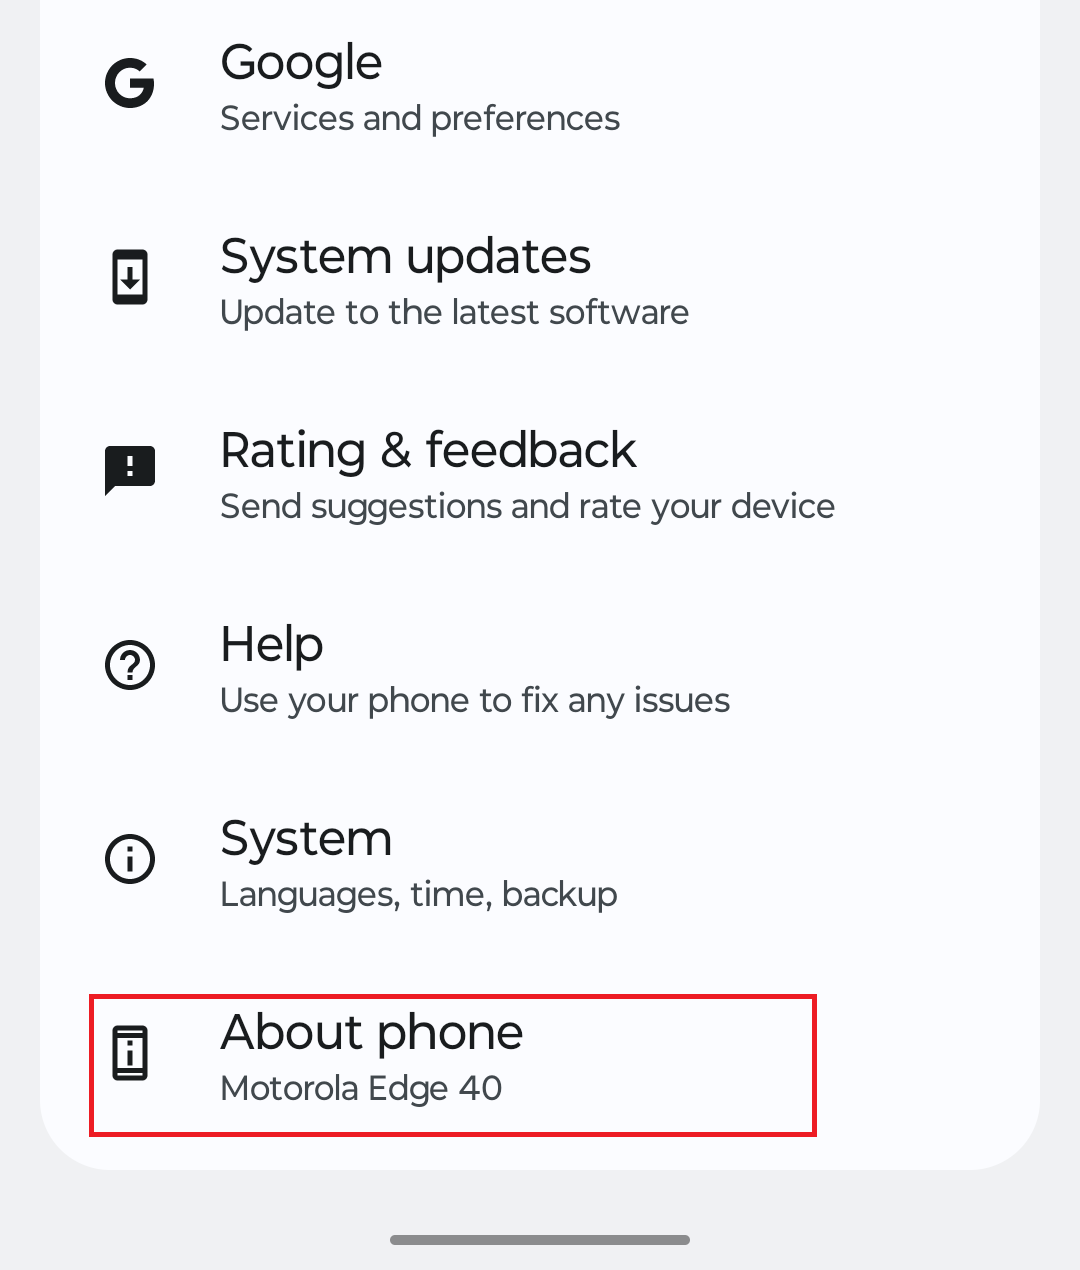
- Scroll down to the bottom of the Settings app, where you will see the About Phone option; tap on it.
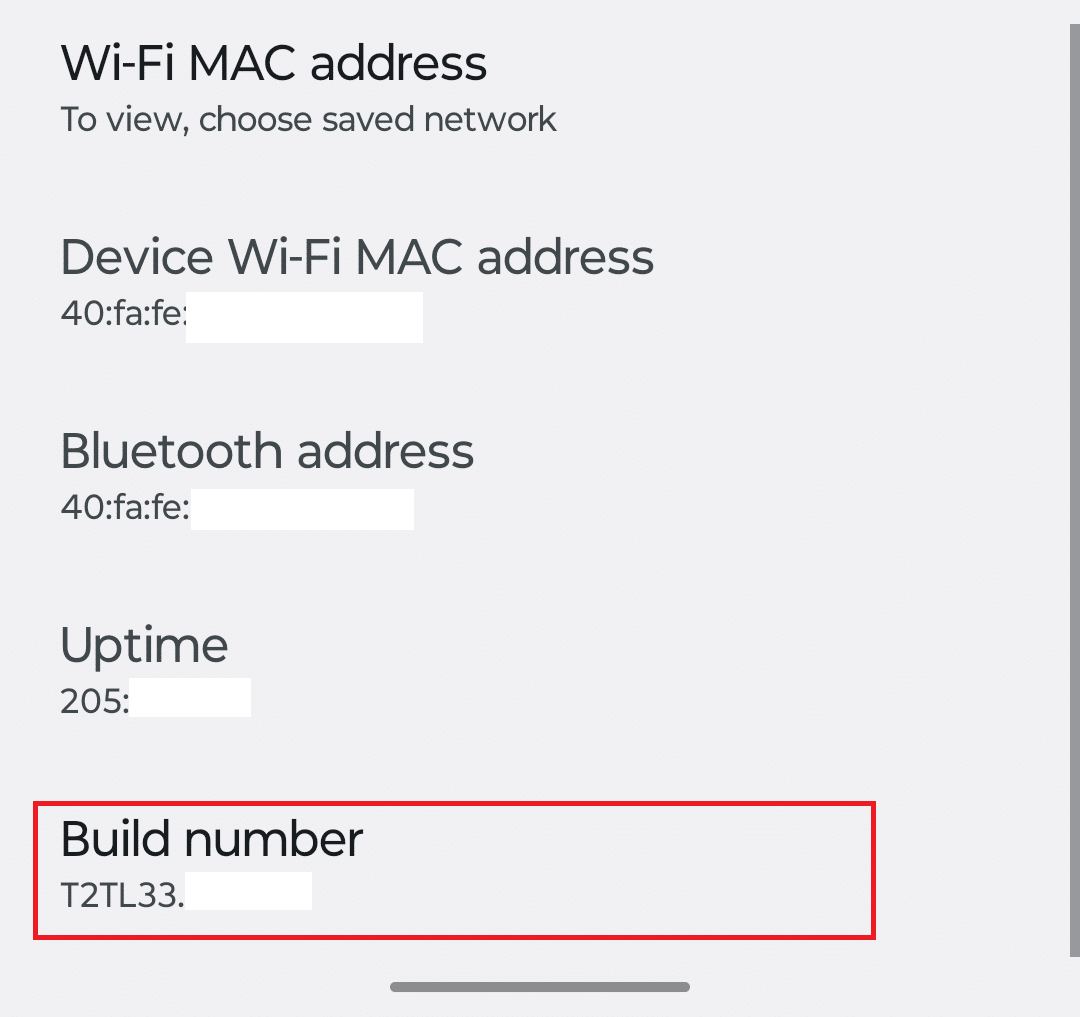
- Now, look for Build Number and tap on it 5-6 times until you see the ‘You are now a developer!’ toast at the bottom of your device’s screen.
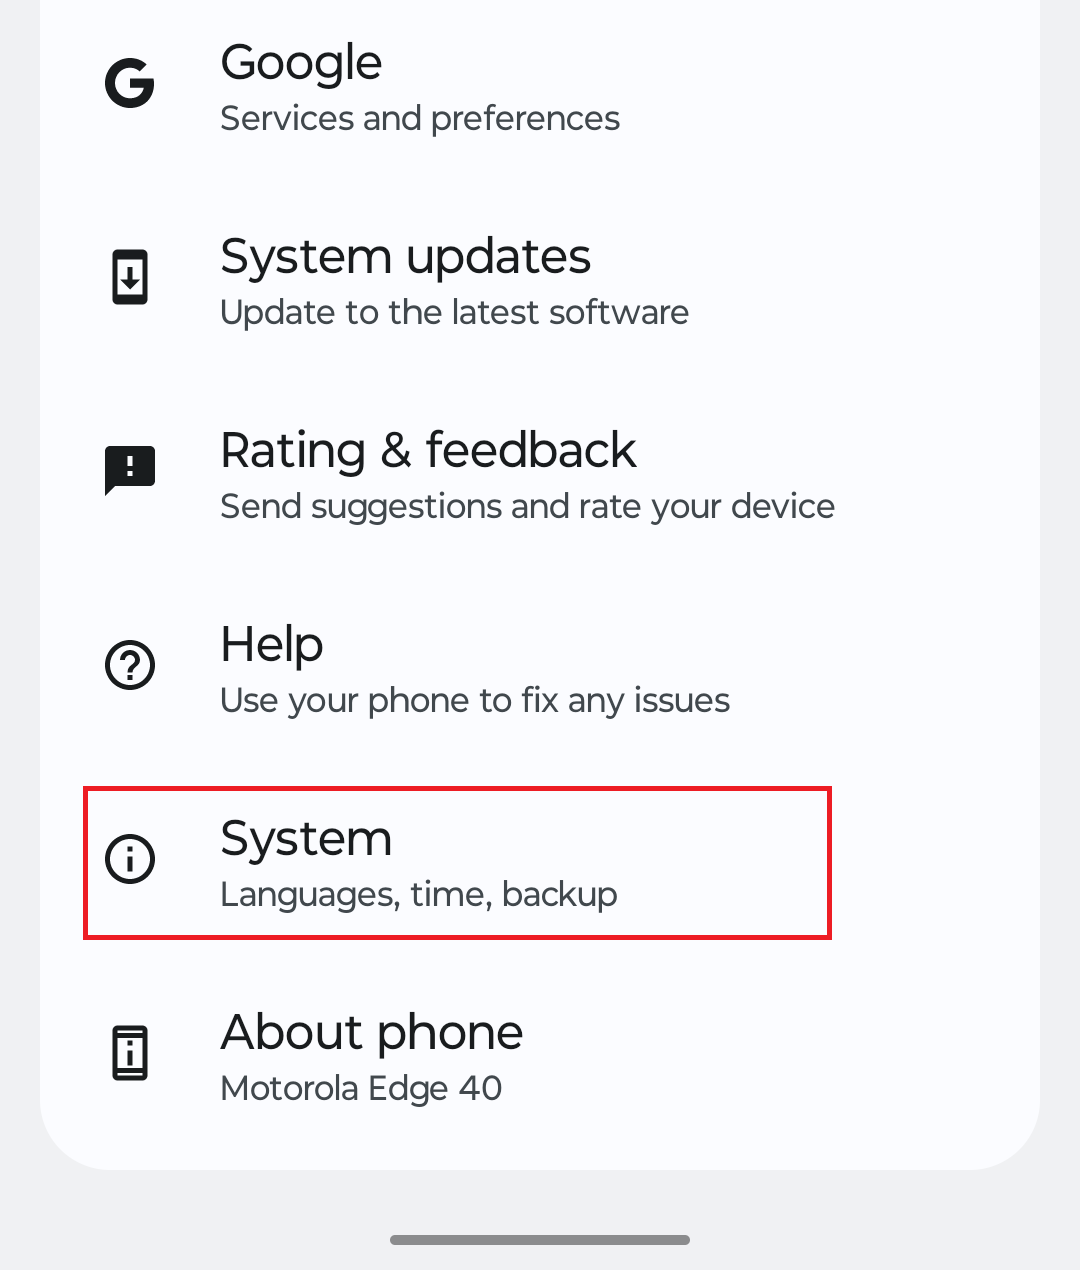
- Once done, head back to the main screen of Settings and tap on System.
- Now, open Developer Options.

- Turn on the toggle next to USB Debugging.
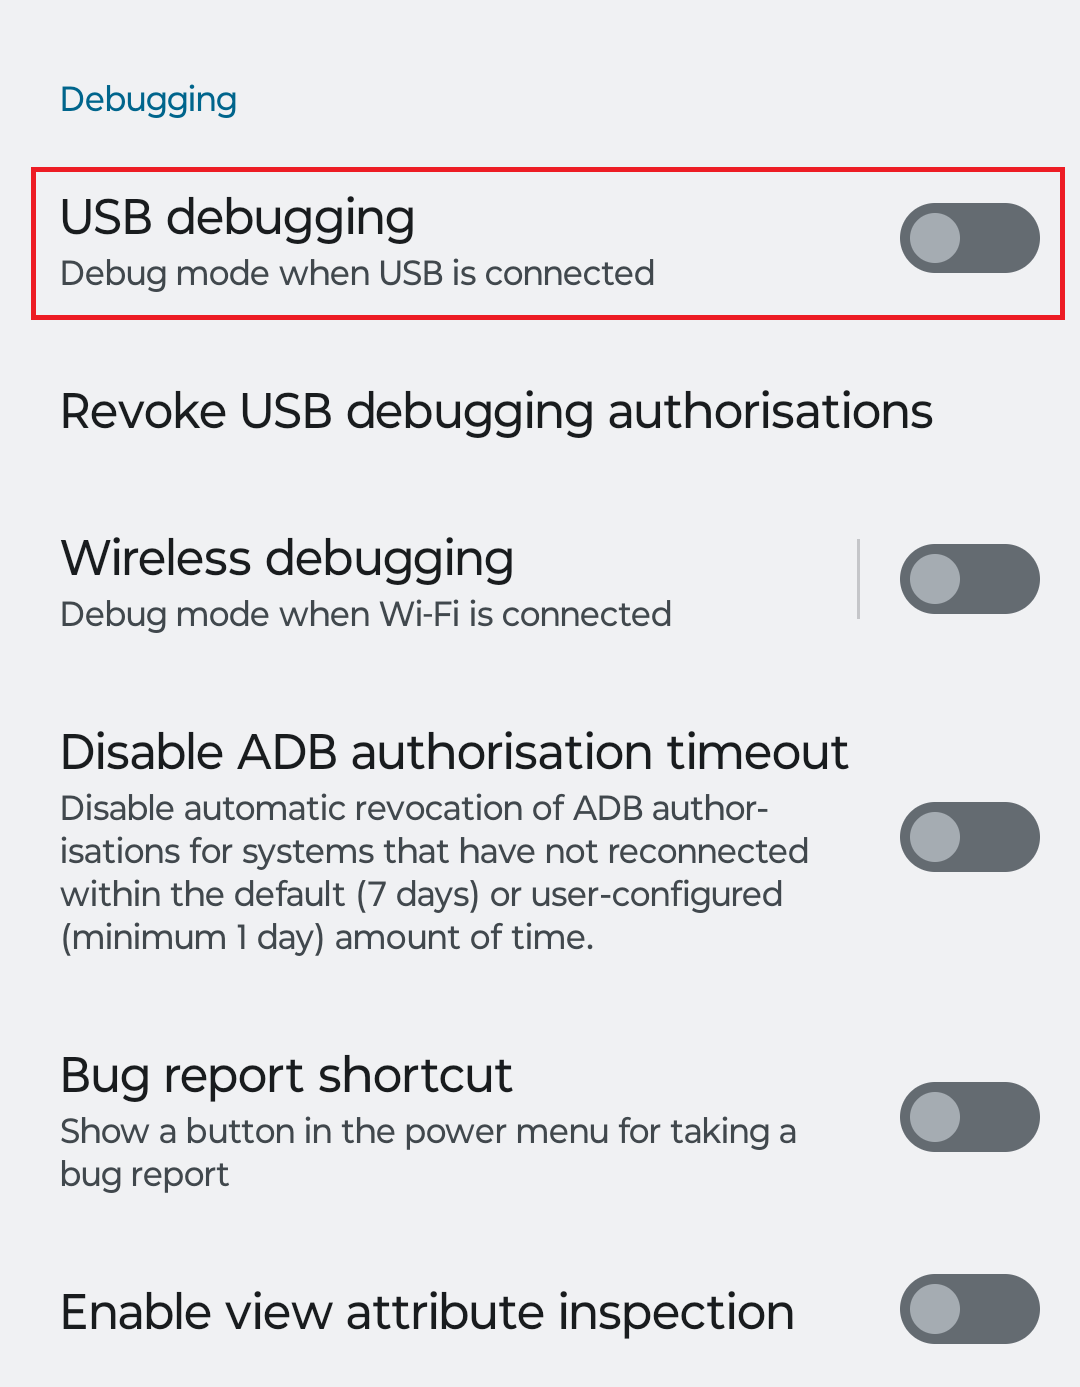
- When asked to allow USB debugging, tap on OK.
- Connect your Android phone/tablet to your PC now with the USB cable. Ensure you use a certified cable (or the brand’s cable which came inside the box).
- Now, click on the address bar at the top of the platform-tools folder on your PC.
- Type the command cmd and press Enter.
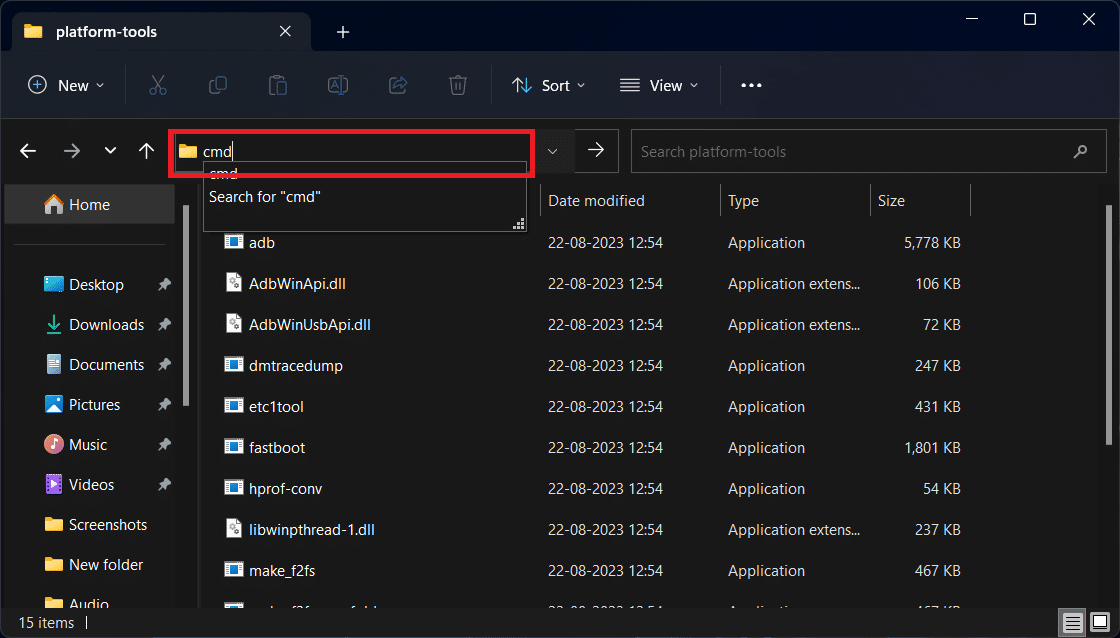
- This will launch Command Prompt within the platform-tools folder, and you can now run the ADB commands here.
ADB Commands List
Once you have set up ADB and fastboot tools, you can use it to control your Android device. Given below is the complete list of all the ADB commands-
- adb help – This command shows all the commands of ADB.
- adb version – Shows the current version of ADB and the installation path.
- adb devices – Lists all the Android devices that are currently connected to your PC through ADB.
- adb usb – This will show you the list of all the Android devices connected to your PC through USB.
- adb reboot – This command will reboot/restart your Android device.
- adb reboot bootloader – Run this command to restart your device and boot it into bootloader.
- adb recovery – With this command, you will be able to reboot your Android device into recovery mode.
- adb sideload ota-update.zip – With this command you will be able to manually install the OTA updates on your device using the ZIP file of the update. Here ota-update.zip is the file name of the update, which is to be replaced with the actual file name.
- adb install filename.apk – You can install the apps from their APK package with this command. filename.apk here represents the filename of the APK package. You will have to replace it with the correct filename of the APK package.
- adb install -r filename.apk – If the app is already installed and you want to reinstall it or update it with the APK package then you can do it with this ADB command.
- adb install -s filename.apk – If you have the APK package on any external storage that is connected to your Android device like the External SD card then you can run this command to install the app from it.
- adb uninstall com.package.in – This command uninstalls the Android app. You will have to replace the com.package.in with the package name of the app installed on your device.
- adb uninstall -k com.package.in – If you want to uninstall the app but keep all of its data then run this ADB command.
- adb logcat – Run this command to display the log data.
- adb bugreport – This command displays dumpstate, dumpsys, as well as log data.
- adb get-state – When you run this command, the device status will be displayed on the terminal’s screen.
- adb get-serialno – If you want to get the serial number of your Android device then you will be able to do it with this command.
- adb jdwp – This command will display the complete list of JDWP processes.
- adb wait-for-device– This will order the device to wait until the other process is completed.
- adb start-server – This command is used to start the ADB server process.
- adb kill-server – This command will kill or terminate the ADB server process.
- adb connect ip_address_of_device – Running this command will connect the ip address of your Android device to your PC. You must replace the ip_address_of_device with the actual IP address of your Android phone/tablet.
- adb backup // – With this command, you will be able to take a complete backup of your Android device which will be saved on your PC.
- adb restore // – Run this command to restore your Android device from the backup you have created.
- adb pull </path/filename>– This command will transfer the files from your Android device to your PC and save it to the platform-tools folder. You will have to replace the </path/filename> with the actual path where the file is stored on your Android device and the actual filename. For instance, adb pull /system/app/Messenger.apk
- adb pull </source-path/filename> <target-path> – This will transfer the file from your Android device and save it on your PC to the desired path. Here, you will have to replace </source-path/filename> with the actual path and filename on the source device, i.e., your Android phone/tablet. Also, you will have to replace the <target-path> with the path on your PC where your file is to be saved. For example, adb pull /system/app/Messenger.apk d:\New Folder\
- adb push <filename> <target-path>– If you have a file on your platform-tools folder on your PC and you want to transfer it to a certain path on your Android device then you can run this command. You will have to replace <filename> with the name on the file you want to transfer and <target-path> with the path to the folder on your Android device where you want to save the file. For instance, adb push video.mp4 /sdcard/New Folder
- adb push <source-path\filename> <target-path> – If you want to transfer a file from any folder on your PC apart from platform-tools folder to your Android device then you can use this command. Here <source-path\filename> will be replaced with the source folder where your file is saved and the filename. Similarly, <target-path> will be replaced with the target path where you want the file to be saved on your Android device. For example, adb push d:\New Folder\video.mp4 /sdcard/New Folder
ADB Shell Commands
Given below is the list of all the ADB Shell Commands that you will be able to use after connecting your phone to your PC through ADB-
- adb shell – This command will start the remote shell command console.
- adb shell pm list packages – Running this command will show the list of all the installed apps on your phone or tablet.
- adb shell pm list packages -s – This command will show the list of system apps that are installed on your Android phone/tablet.
- adb shell pm list packages -d – If you want to view the list of all the disabled apps on your device.
- adb shell pm list packages -e – This command will show the list of all the enabled apps on your Android phone.
- adb shell pm list packages -3 – This command will list all the third-party apps installed on your device.
- adb shell dumpsys display – Run this command to get the information of your device’s display.
- adb shell dumpsys battery – Run this command to get the information of the battery on your Android device.
- adb shell dumpsys batterystats -Run this command to get battery stats of your Android device.
- adb shell pm uninstall -k –user 0 package.name.com n – This command can be used to uninstall third-party apps as well as bloatware that comes preinstalled on your phone.
- adb shell wm density 000 – This will change the pixel density of your device. Here you will have to replace 000 with the density. Ensure you check your device’s density before you use this command.
- adb shell screencap </path/screenshot_name> – This command is used to take a screenshot on your Android phone/tablet. Here you will have to replace /path with the path where you want the screenshot to be saved, and screenshot_name with the name of the screenshot. For instance adb shell screencap /sdcard/screenshot.png will save the screenshot with the name screenshot.png and save it to sdcard.
- adb shell screenrecord </target-path/filename> -This will start screen recording and save it with the desired file name in the target path. For instance, adb shell screenrecord /sdcard/recording.mp4 command will start screen recording and save it with the name recording.mp4 in the sdcard. In order to stop the recording, press Ctrl + C or Command + C keyboard shortcut. The default time limit for screen recording is 3 minutes, so if you didn’t stop it by yourself it will stop after 3 minutes automatically.
- adb shell screenrecord –time-limit xx </target-path/filename> – This will record the screen with the time limit, i.e., recording will stop after the time limit ends. You will have to replace xx with time limit in seconds, /target-path with path where you want the recording to be saved, and filename with the name of the file. For instance adb shell screenrecord –time-limit 90 /sdcard/video.mp4 command will stop screen recording after 90 seconds and save the file as video.mp4 in the sdcard folder.
You can also run the following commands after executing the adb shell command-
- netstat – This will show the network statistics of your Android device.
- ip -f inet addr show wlan0 – This command will show you the IP address of the Wi-Fi of your device.
- cd /system – Running this command will change the directory to /system.
- rm – f </path/filename> -Execute this command to delete the file in the target path. For instance, the rm -f /sdcard/videos.mp4 command will delete videos.mp4 file from the sdcard.
- rm -d </path> – This command will delete the folder in the path you have entered. For instance, running the command rm -d /sdcard/New Folder will delete the New Folder that is present inside sdcard.
- mkdir </path/Folder_Name> – This command will create a new folder on your device. For instance mkdir /sdcard/New1 command will create a folder named New1 inside sdcard.
- top– This command is used to monitor the current running CPU process on your device.
- cp </source-path/filename> <target-path> -This commands copies the file from one place and paste it to another on your Android device. Replace source-path with the path to the folder where the file is saved, filename with the name of the file, and target-path with the path to the folder where you want the file to be pasted. For instance, the cp /sdcard/movie.mp4 /sdcard/folder command will copy the movie.mp4 file from sdcard and paste it in the folder in the sdcard.
- mv </source-path/filename> <target-path> – This command will move the file from source to target. If you run the command mv /sdcard/movie.mp4 /sdcard/folder it will move the movie.mp4 file from sdcard to folder inside the sdcard.
Fastboot Commands List
Given below is the list of Fastboot commands that you can use once you boot your Android device in fastboot mode-
- fastboot devices – When you run this command, it will list all your Android devices connected to your PC in Fastboot.
- fastboot oem unlock – This command will unlock the bootloader of your Android device.
- fastboot oem lock – Run this command to lock the bootloader on your device.
- fastboot reboot bootloader – This command will reboot your device again into Fastboot.
- fastboot flash boot boot.img – This command will flash boot the image file on your device. Here, you will have to replace boot.img with the name of the file you want to boot.
- fastboot flash recovery recovery.img – With this command you can flash recovery images on your Android phone or tablet. Replace the recovery.img with the name of the image file.
- fastboot boot filename.img – This command will boot your device with the image file but not flash it on your device. Here, the filename.img must be replaced with the name of the image file.
Final Words
That’s it with this article; we have listed all the ADB, ADB shell, and fastboot commands.
You can use these commands to control your Android device and make changes to it when you connect it to your PC through the ADB.
