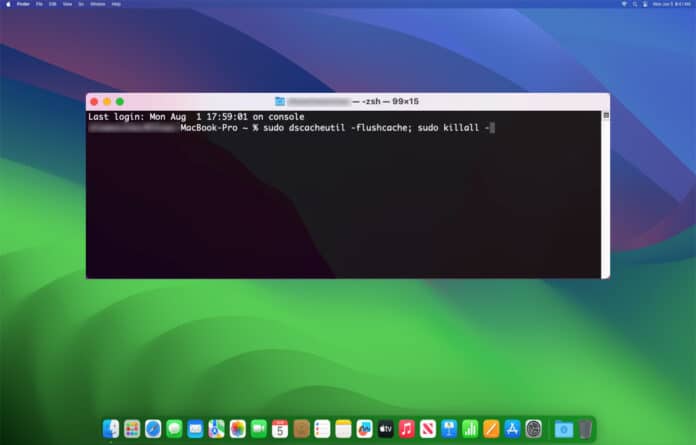
Are you experiencing trouble accessing websites or noticing that your internet browsing isn’t as smooth as it should be on your Mac running Sonoma?
Often, these issues can be linked to outdated or incorrect information in your DNS cache.
This cache is like a memory bank that helps your Mac remember how to quickly find websites you have visited before.
However, when the information in the cache becomes old or incorrect, it can slow you down. Clearing it out can help resolve the issue.
It is rare thing to happen but we have got you covered. Let us learn to flush the DNS cache in macOS Sonama and earlier versions.
The process is simple and takes a few minutes at most to perform by yourself.
Table Of Contents
Flush DNS Cache in macOS Sonoma
You try these minor solutions before flushing the DNS cache on your macOS.
- Turn off your router and then turn it on after 2 minutes. Check if your internet problems are fixed.
- If you have recently changed your DNS then it can be the reason for the issues. You can change it using the tutorial we have given at the bottom.
- Try accessing websites in a different browser to see if it is a browser-specific issue.
When none of the above works, you can try clearing the DNS cache on macOS Sonama in the following manner.
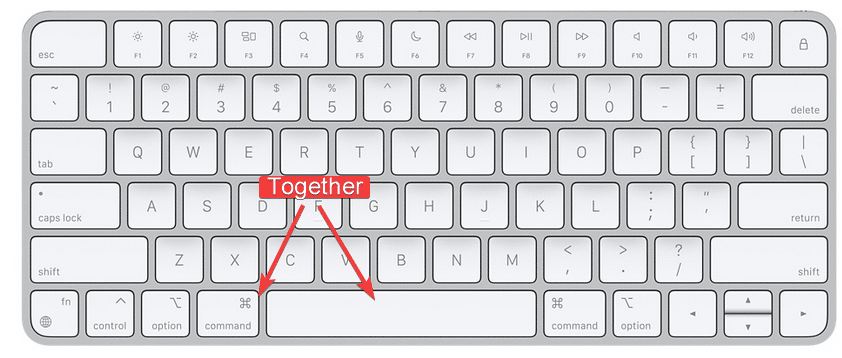
1. Press Command and Space on the keyboard to open the Spotlight search.
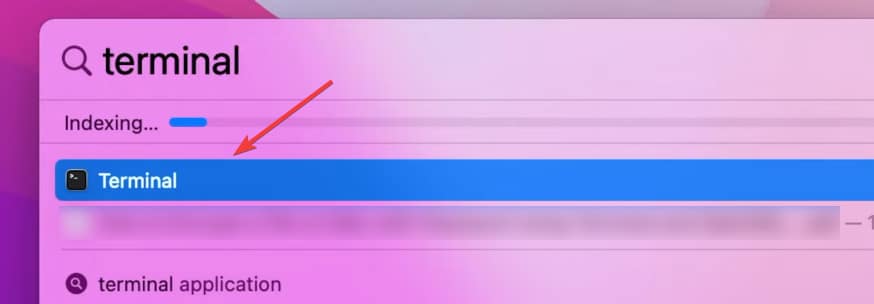
2. Then type terminal and head to the first setting.
3. Now paste the following command and press enter.
sudo dscacheutil -flushcache;sudo killall -HUP mDNSResponde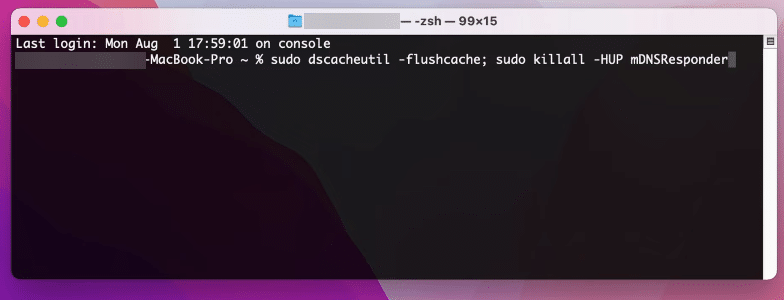
4. Enter your macOS’s password, which will be invisible, and press enter to confirm clearing out of the DNS.
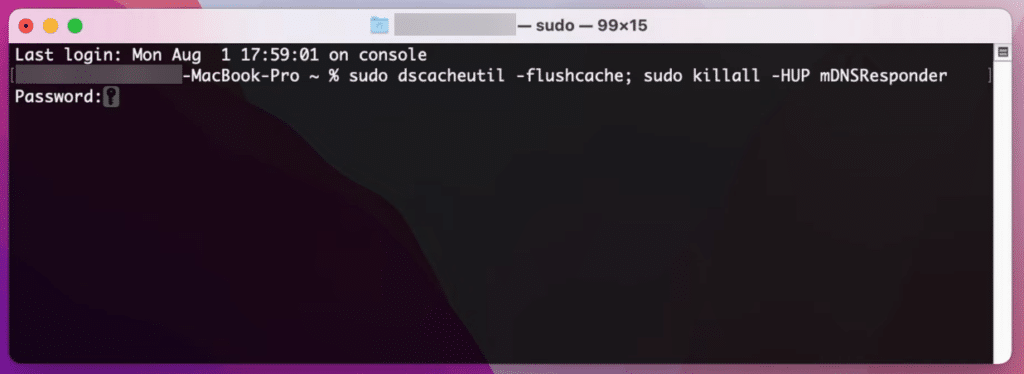
That’s all, now you have flushed the DNS cache in macOS Sonoma.
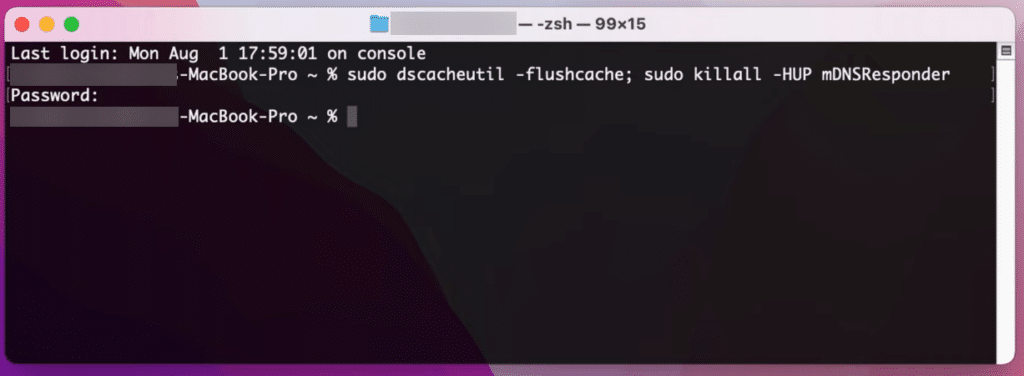
Flush DNS Cache on Older Mac OS
You can clear DNS cache on older macOS versions by replacing the sudo command with the one given below.
| macOS | Command |
| Ventura (Version 13) | sudo dscacheutil -flushcache; sudo killall -HUP mDNSResponder |
| Monterey (Version 12) | sudo dscacheutil -flushcache; sudo killall -HUP mDNSResponder |
| Big Sur (Version 11) | sudo dscacheutil -flushcache; sudo killall -HUP mDNSResponder |
Also Read – Download MacOS Ventura ISO
Change DNS on macOS
Flushing the DNS cache did not solve the problem. Then you can also try changing the DNS.
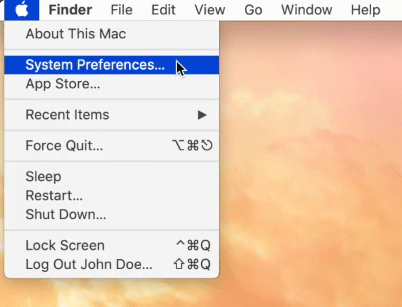
1. Go straight to the System Preferences.
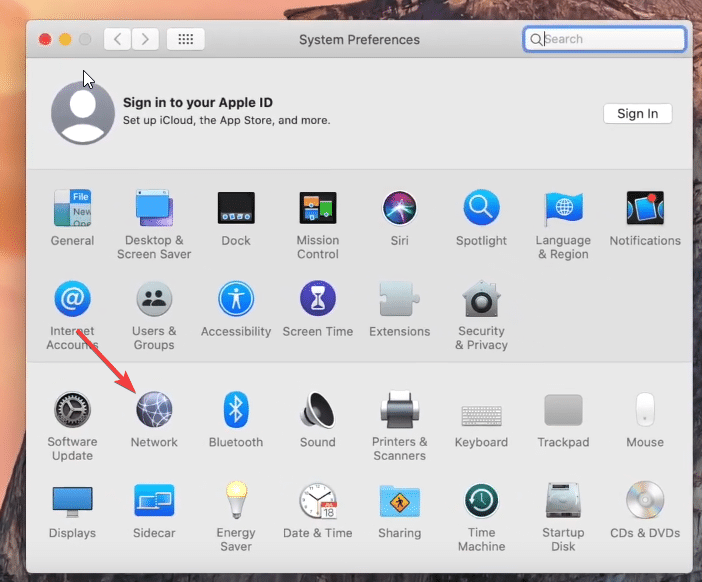
2. Then go to Network from the System Preferences.
3. Select the Wi-Fi or Ethernet option through which you are connected to the internet.
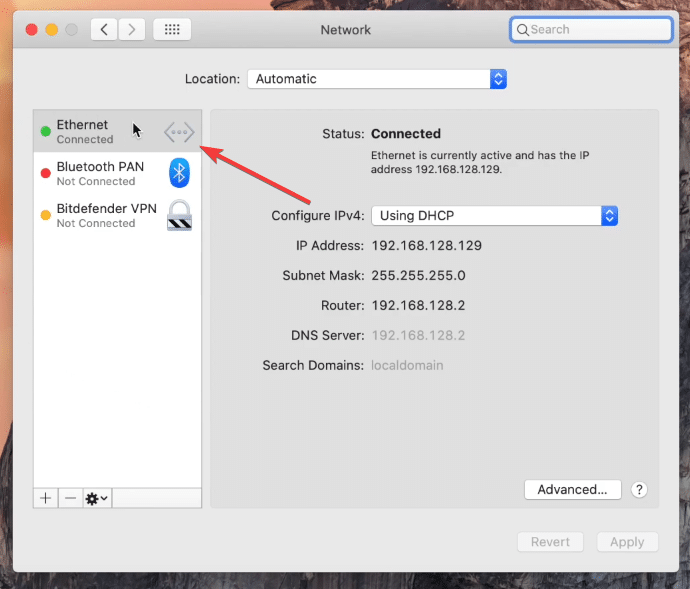
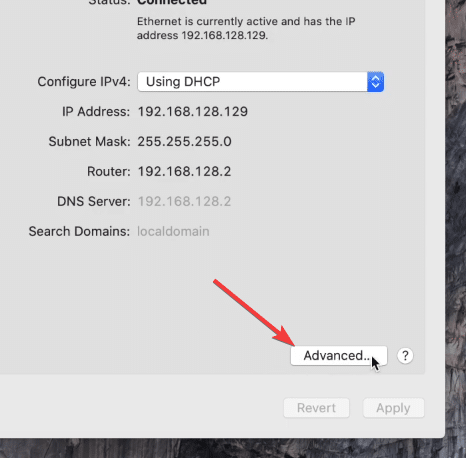
4. Click on the Advanced button.
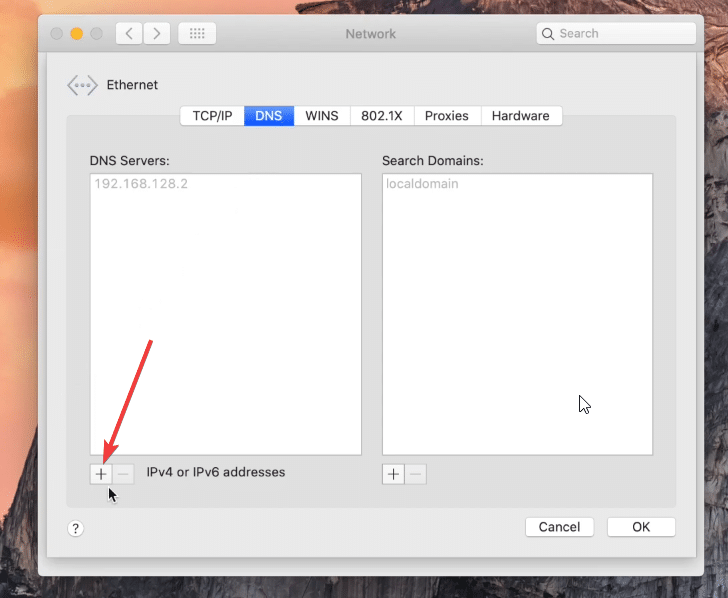
5. Head to the DNS tab and then click on the plus button in the DNS servers section.
6. Type in the Google Public DNS address
8.8.8.8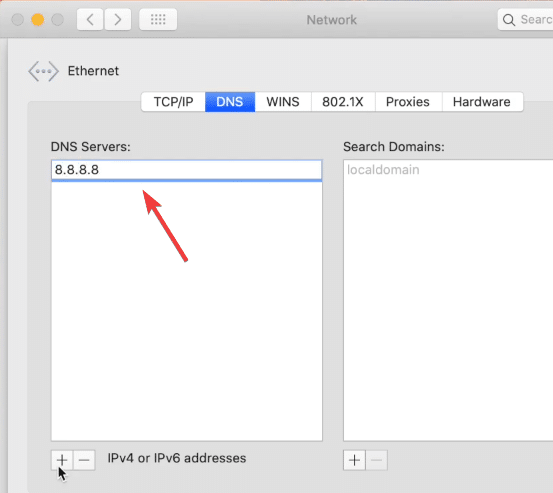
7. Then press it again to add the alternate DNS server.
8.8.4.4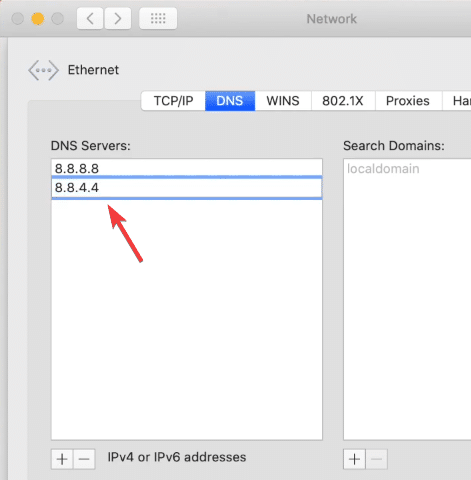
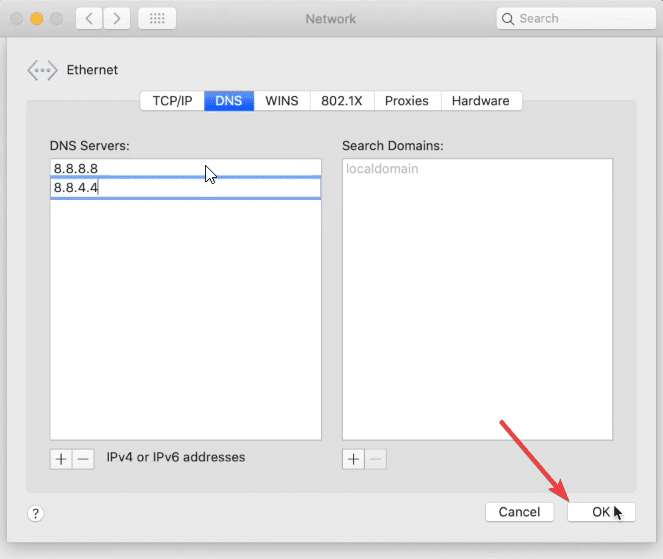
8. Click OK and restart your Mac to make the final changes. This will change DNS on macOS.
Frequently Asked Questions
Is it safe to clean up DNS cache?
Clearing the DNS cache on a Mac is typically a safe and straightforward process. The DNS cache on your Mac holds data about the websites you have visited, including their associated IP addresses.
By clearing this cache, you can often resolve problems related to accessing specific websites, especially if there have been recent updates or changes to DNS records.
Does clearing DNS cache speed up internet?
Clearing the DNS cache on a Mac can help fix website access problems, but it might not make your internet faster.
Quickly Clearing DNS Cache on macOS
Flushing DNS cache on macOS is easy and you can follow the above given method to solve it. If the problem persists with your internet then you consider contacting your internet service provider.
