
Ever since the arrival of the Windows 10 2004 Update, users across the globe are experiencing numerous problems with the OS. Recently, Microsoft has acknowledged a major internet connectivity issue.
It appears that there’s a bug in the latest build of Windows 10 that despite having a fully functioning Internet connection displays false internet connection warnings.
Due to these warnings, most installed applications like Spotify, Cortana, and Microsoft Store don’t function properly. However, the bug doesn’t impact browsers.
ALSO READ: Microsoft Launches Windows File Recovery App; A Free Tool To Recover Deleted Files
Table Of Contents
Windows 10 False ‘Not Connected’ Alert
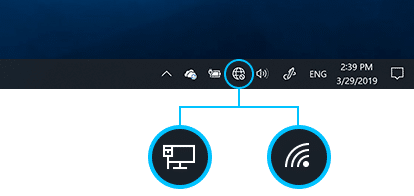
As mentioned above, the “No Internet Access” warning is creating havoc among users. The warning is visible on the taskbar of every affected Windows device.
A user on the official forums of Microsoft stated that in order to fix the issue he “rebooted the laptop, reset the router and reinstalled the network wireless adaptor but still the same message.” Since the issue isn’t caused by defective internet it’s impossible to fix it using the methods shared by the user.
According to Microsoft, the primary cause behind this problem is the Network Connectivity Status Indicator (NCSI). Acknowledging the problem, Microsoft stated that,
“Customers are reporting “no internet” access in the Network Connectivity Status Indicator (NCSI) on Windows 10 2004 devices on devices that in fact can ping internet resources or browse web sites with internet browsers.”
Since the bug has now been admitted by Microsoft, we can now expect it to get resolved soon. The upcoming update of Windows 10 might resolve this issue. However, if you can’t wait for the update then follow the simple guide in the next section of this article to fix the internet connectivity problem.
How To Fix Windows 10 2004 Internet Connectivity Problem?
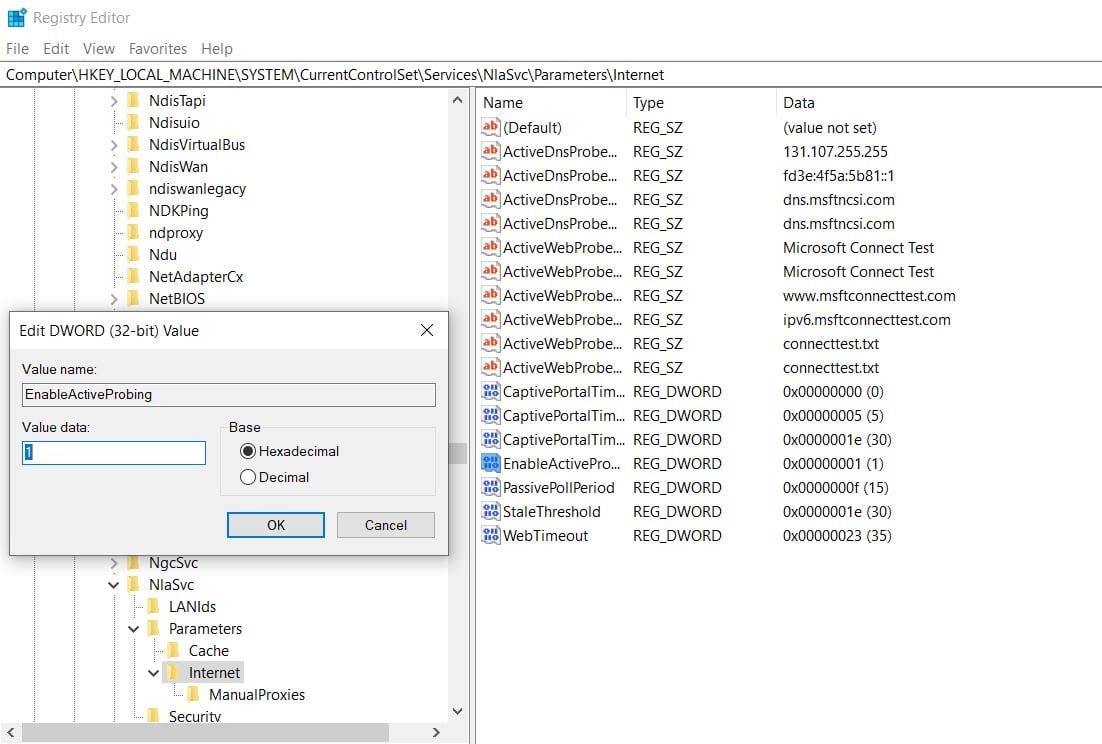
- Using Windows Search Open ‘Registry Editor’
- Simply navigate to, “HKEY_LOCAL_MACHINESYSTEMCurrentControlSetServicesNlaSvcParametersInternet”
- Lastly, Modify “EnableActiveProbing” by changing the value from ‘0’ to ‘1’.
Once the modification is completed, restart your computer. All of the system applications will now function properly.
