
How to live-sniffer network traffic on a remote Linux system using WireShark
Wireshark is a top Kali Linux Wi-Fi pentesting tool and used for as world’s foremost network protocol analyzer. It lets you see what’s happening on your network at a microscopic level. With Wireshark you can analyze a network to the greatest detail to see what’s happening. Wireshark can be used for live packet capturing, deep inspection of hundreds of protocols, browse and filter packets and is a multi-platform tool.
Top Wireshark’s features are:
- Deep inspection of hundreds of protocols, with more being added all the time.
- Live capture and offline analysis with powerful display filters.
- Captured network data can be browsed via a GUI or via the TTY-mode TShark utility.
- Read/write many different capture file formats: tcpdump (libpcap), Pcap NG, WildPackets EtherPeek/TokenPeek/AiroPeek … it’s a long list. You can also export to XML, PostScript®, CSV, or plain text.
- Live data can be read from Ethernet, IEEE 802.11, PPP/HDLC, ATM, Bluetooth, USB, Token Ring, Frame Relay, FDDI, and others (depending on your platform).
- Decryption support for many protocols, including IPsec, ISAKMP, Kerberos, SNMPv3, SSL/TLS, WEP, and WPA/WPA2.
In this tutorial, we will learn how to live sniffer network traffic using Wireshark thanks to Robert Penz. Why would you want to sniff at live network flow?. Sometimes a tcpdump is not enough to give you correct information and when you want additional information like :
- You want to check the TTL/hop count of BGP packets before activating TTL security
- You want to look at encrypted SNMPv3 packets (Wireshark is able to decrypt it, if provided the password)
- You want to look at DHCP packets and their content
Sure, it’s quite easy to sniffer on a remote Linux box with tcpdump into an file and copy that over via scp to the local system and take a closer look at the traffic. But using the Wireshark for the same query gives you better results.
We just use ssh to pipe the captured traffic through to the local Wireshark. Sure this is not the perfect method for GBytes of traffic but often you just need a few packets to check something or monitor some low volume traffic. Anyway first we need to make sure that Wireshark is able to execute the dumpcap command with our current user. So we need to check the permissions
ll /usr/bin/dumpcap

-rwxr-xr-- 1 root wireshark 88272 Apr 8 11:53 /usr/bin/dumpcap*
So on Ubuntu/Debian we need to add ourself to the wireshark group and check that it got applied with the id command (You need to logoff or start a new sesson with su - $user beforehand). Now you can simply call:
ssh root@10.x.x.x 'tcpdump -f -i eth0 -w - not port 22' | wireshark -k -i -
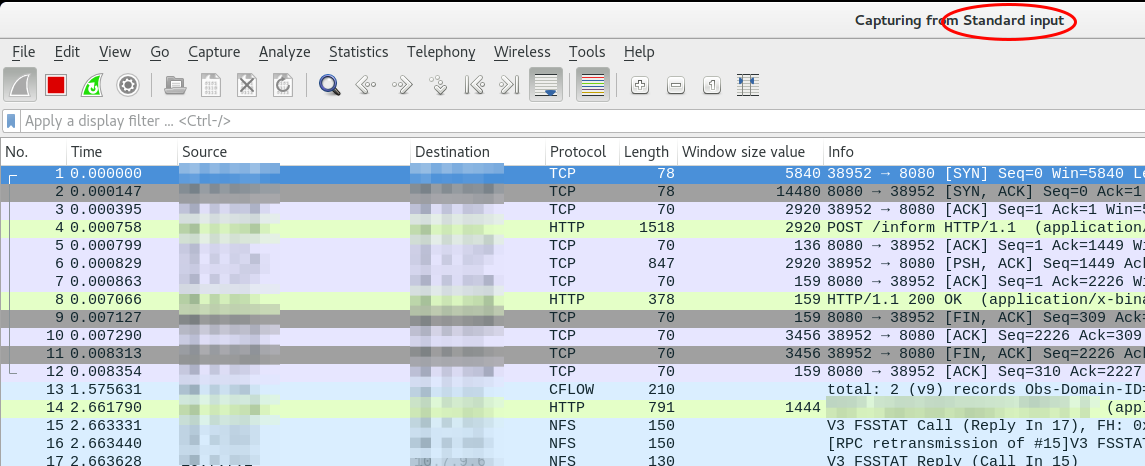
And now the really cool part comes. Using Ubiqity Unifi access points in multiple setups allow you to look at the traffic a station communicates with the access point on the wireless interface. With that commands, you will be able to ssh into the access point and look at the live traffic of an access point and a station which is hundreds of KM way. You can ssh into the AP with your normal web GUI user (if not configured differently) and the bridge config looks like this
BZ.v3.7.8# brctl show

bridge name bridge id STP enabled interfaces

br0 ffff.00272250d9cf no ath0

ath1

ath2

eth0
You can choose one of that interfaces (or the bridge) for normal IP traffic or go one level deeper with wifi0, which looks like this
ssh ubunt@10.x.x.x 'tcpdump -f -i wifi0 -w -' | wireshark -k -i -
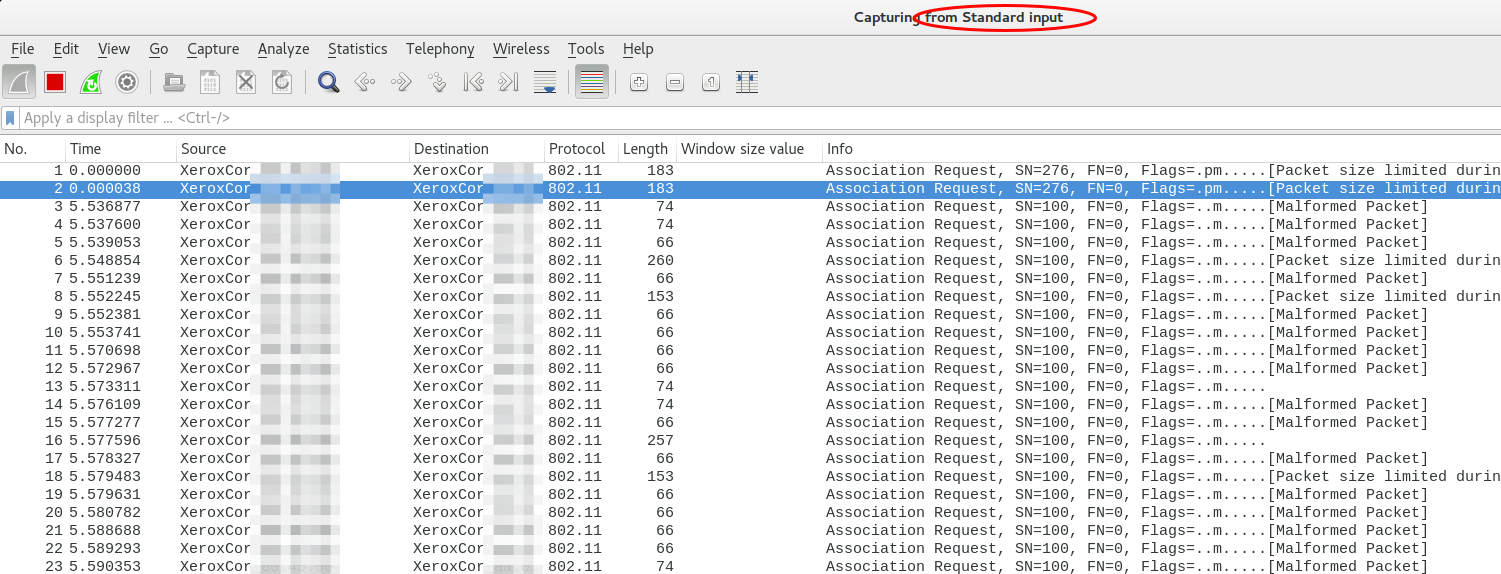
That’s it. You can live sniffer network traffic on a remote Linux PC/laptop sitting hundreds of KM away using Wireshark. Don’t forget to thank Robert Penz for bringing this awesome tutorial to you.
