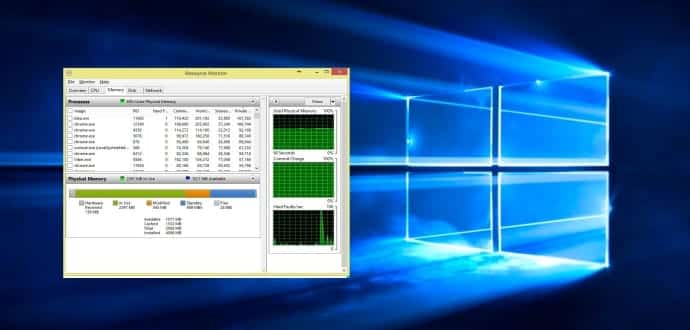
How To Fix High RAM Leakage and High CPU Use of Windows 10 Run PC/Laptops caused due NTOSKRNL Process
If you are using a Windows 10 run PC or laptop you may have already encountered this problem.
Several Windows 10 users have reportedly been complaining on Reddit and Microsoft Forums about unexpected memory leaks pertaining to system processes like ntoskrnl.exe and Runtime Broker, wherein an increased amount of RAM and CPU usage during PC boot ups has been extensively reported.
The issue seems to have been caused by a bug which inflates the RAM and leaks memory in the process. During a normal process when you are not using many Apps, your PC/laptop should use around 30 percent of RAM and around 40 percent of your CPU.
However, if your Windows 10 is buggy, it can use anywhere between 80-90 percent RAM and 85 percent of your CPU causing a mild hang which can be only cured by rebooting your PC/laptop.
Also, watch how to disable superfetch 100% disk usage
According to the researchers at Bidness Etc the high RAM and CPU leakage is caused by the memory leak issue which remains dormant for the first few hours of PC/laptop use, but slowly takes over all the available free memory and a large portion of the processor usage.
Table Of Contents
How To Fix High RAM and CPU Usage in Windows 10
1. Registry Hack:
- Hit Win Key + R
- Type in “Regedit” and then hit Enter.
- Go to ‘HKEY_LOCAL_MACHINE\SYSTEM\CurrentControlSet\Control\Session Manager\Memory Management’
- Find ‘ClearPageFileAtShutDown’ and change its value to 1
- Restart the computer
Also Read- Best Registry Cleaner For Windows 10 PC
2. Fix the driver issue:
- Open ‘Device manager’ and ‘Scan for hardware changes’
3. Adjust your Windows 10 for the best performance
- Right click on “Computer” icon and select “Properties”
- Select “Advanced System settings”
- Go to the “System properties”
- Select “Settings”
- Choose “Adjust for best performance” and “Apply”.
- Click “OK” and Restart your computer.
4. Disable startup programs
- Hit Win Key + R
- Type ‘msconfig’ and press enter
- The Task manager window will open. Click on the “Startup” tab and you will see a list of programs that run at startup.
- Right click on the applications that you don’t want to run at startup and select “Disable”.
5. Defragment Hard DrivesHit Win Key + R
- Hit Win Key + R
- Type “dfrgui” and press enter
- In the new window click on the hard drives you want to defragment (Prefer the drive in which Windows is installed)
- Click “Optimize” and follow the instructions on the screen to finish the defragment process.
- Restart your computer.
6. Close and uninstall as many unwanted preinstalled applications as many you can
Removing malware
One of the main reasons for the slow down of your PC/laptop could be malware. One of the most common malware that infects your PC is perhaps the adware that comes from your browser.
One could employ the use of Malwarebytes Anti-malware tool or Microsoft’s native Windows Defender.
Both the software offer a comprehensive scanning and cleaning mechanism to eradicate spyware and malware infections.
Just run the complete scan or deep scan to remove any malware infection and reboot your PC to get rid of any infection.
If the issue still persists, you can move on to the next step by updating outdated or faulty drivers.
Updating outdated or faulty drivers
Several users have reportedly claimed that outdated or faulty drivers are the main reason behind this potential memory leak issue in Windows 10.
Although Microsoft has rolled out automatic driver updates for all known hardware installed on the PC, it may not be fully optimized for the best performance. Hence, it is imperative to download the latest drivers from the OEM or hardware vendor to plug the high memory and CPU usage problem.
The most basic drivers are sound, graphics, and network drivers, which are often the root cause of memory leaks as reported by several affected users, following the Windows 10 upgrade.
Also Read- What Is SuperFetch And How To Disable It?
That’s it. The memory leak and high CPU usage issues should now be resolved on your PC/laptop running Windows 10.

