
A few weeks ago, Kali Linux 2020.3 was released and with this update, Win-KeX (Windows + Kali Desktop EXperience) was also introduced.
Thanks to the launch of WSL2 and the third quarter update of Kali Linux it is now possible to run a persistent-session GUI of Kali on a Windows 10 computer.
In this article, we have shared a detailed guide for using Kali Linux in the WSL2 environment with full integration between system files.
Additionally, we have also accompanied a video with this guide.
BONUS VIDEO
How To Install Kali Linux Win-KeX Desktop On WSL 2
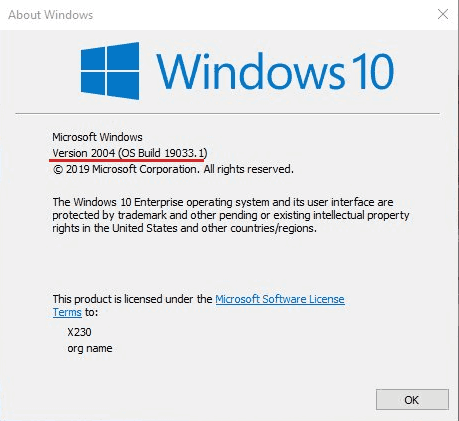
Before moving on to the actual installation part we have to configure Windows 10. To do so, firstly ensure that you have Windows 10 version 2004 or higher installed on your PC.
Moreover, if there’s an update available install it. You can check the Windows version and build number by typing winver in the start search menu.
Next, we have to enable “Windows Subsystem for Linux” or often abbreviated as WSL optional feature.
The optional feature can be enabled by running Powershell as administrator and pasting the command,
dism.exe /online /enable-feature /featurename:Microsoft-Windows-Subsystem-Linux /all /norestart
Another important thing that we have to enable before moving on is the “Virtual Machine Platform” optional feature. Again you can do so by opening Powershell as administrator and pasting the command,
dism.exe /online /enable-feature /featurename:VirtualMachinePlatform /all /norestart
After enabling these two features you have to now restart your PC. Once restarted, open Powershell as administrator and paste the command,
wsl –set-default-version 2
If the command executes successfully on your PC skip the next paragraph however if you get the message “WSL 2 requires an update to its kernel component.
For information please visit https://aka.ms/wsl2kernel” then continue reading.
This message indicates that you have to manually download and install a small MSI file to install a Linux kernel on your laptop for WSL 2.
This MSI file can be downloaded from the URL, https://aka.ms/wsl2kernel. After installing the MSI file once again run the command wsl –set-default-version 2.
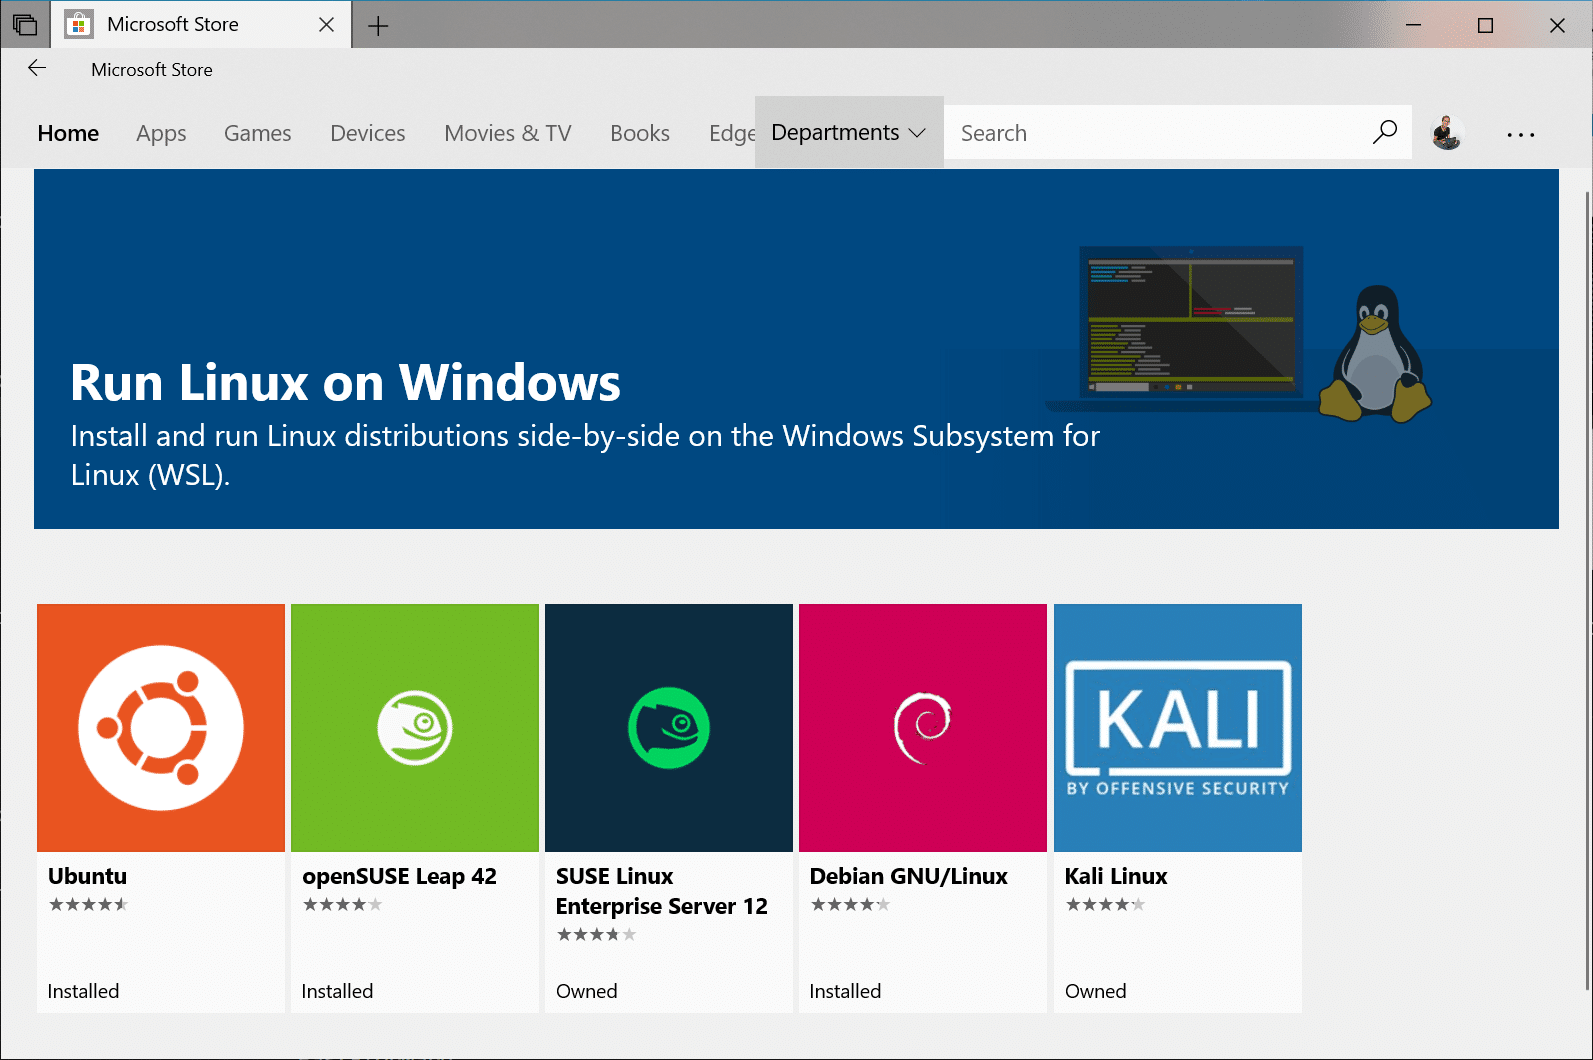
We have to now download Kali Linux from the Microsoft Store. Once downloaded open it and wait for the program to decompress and store the necessary files on your system.
You can now set a username and password for the newly created Linux distribution on your PC. To launch the Kali Linux GUI you have to run the command,
sudo apt update && sudo apt install kali-win-kex
Depending on your internet speed the specifications of your PC the installation can take anywhere between 15 to 30 minutes.
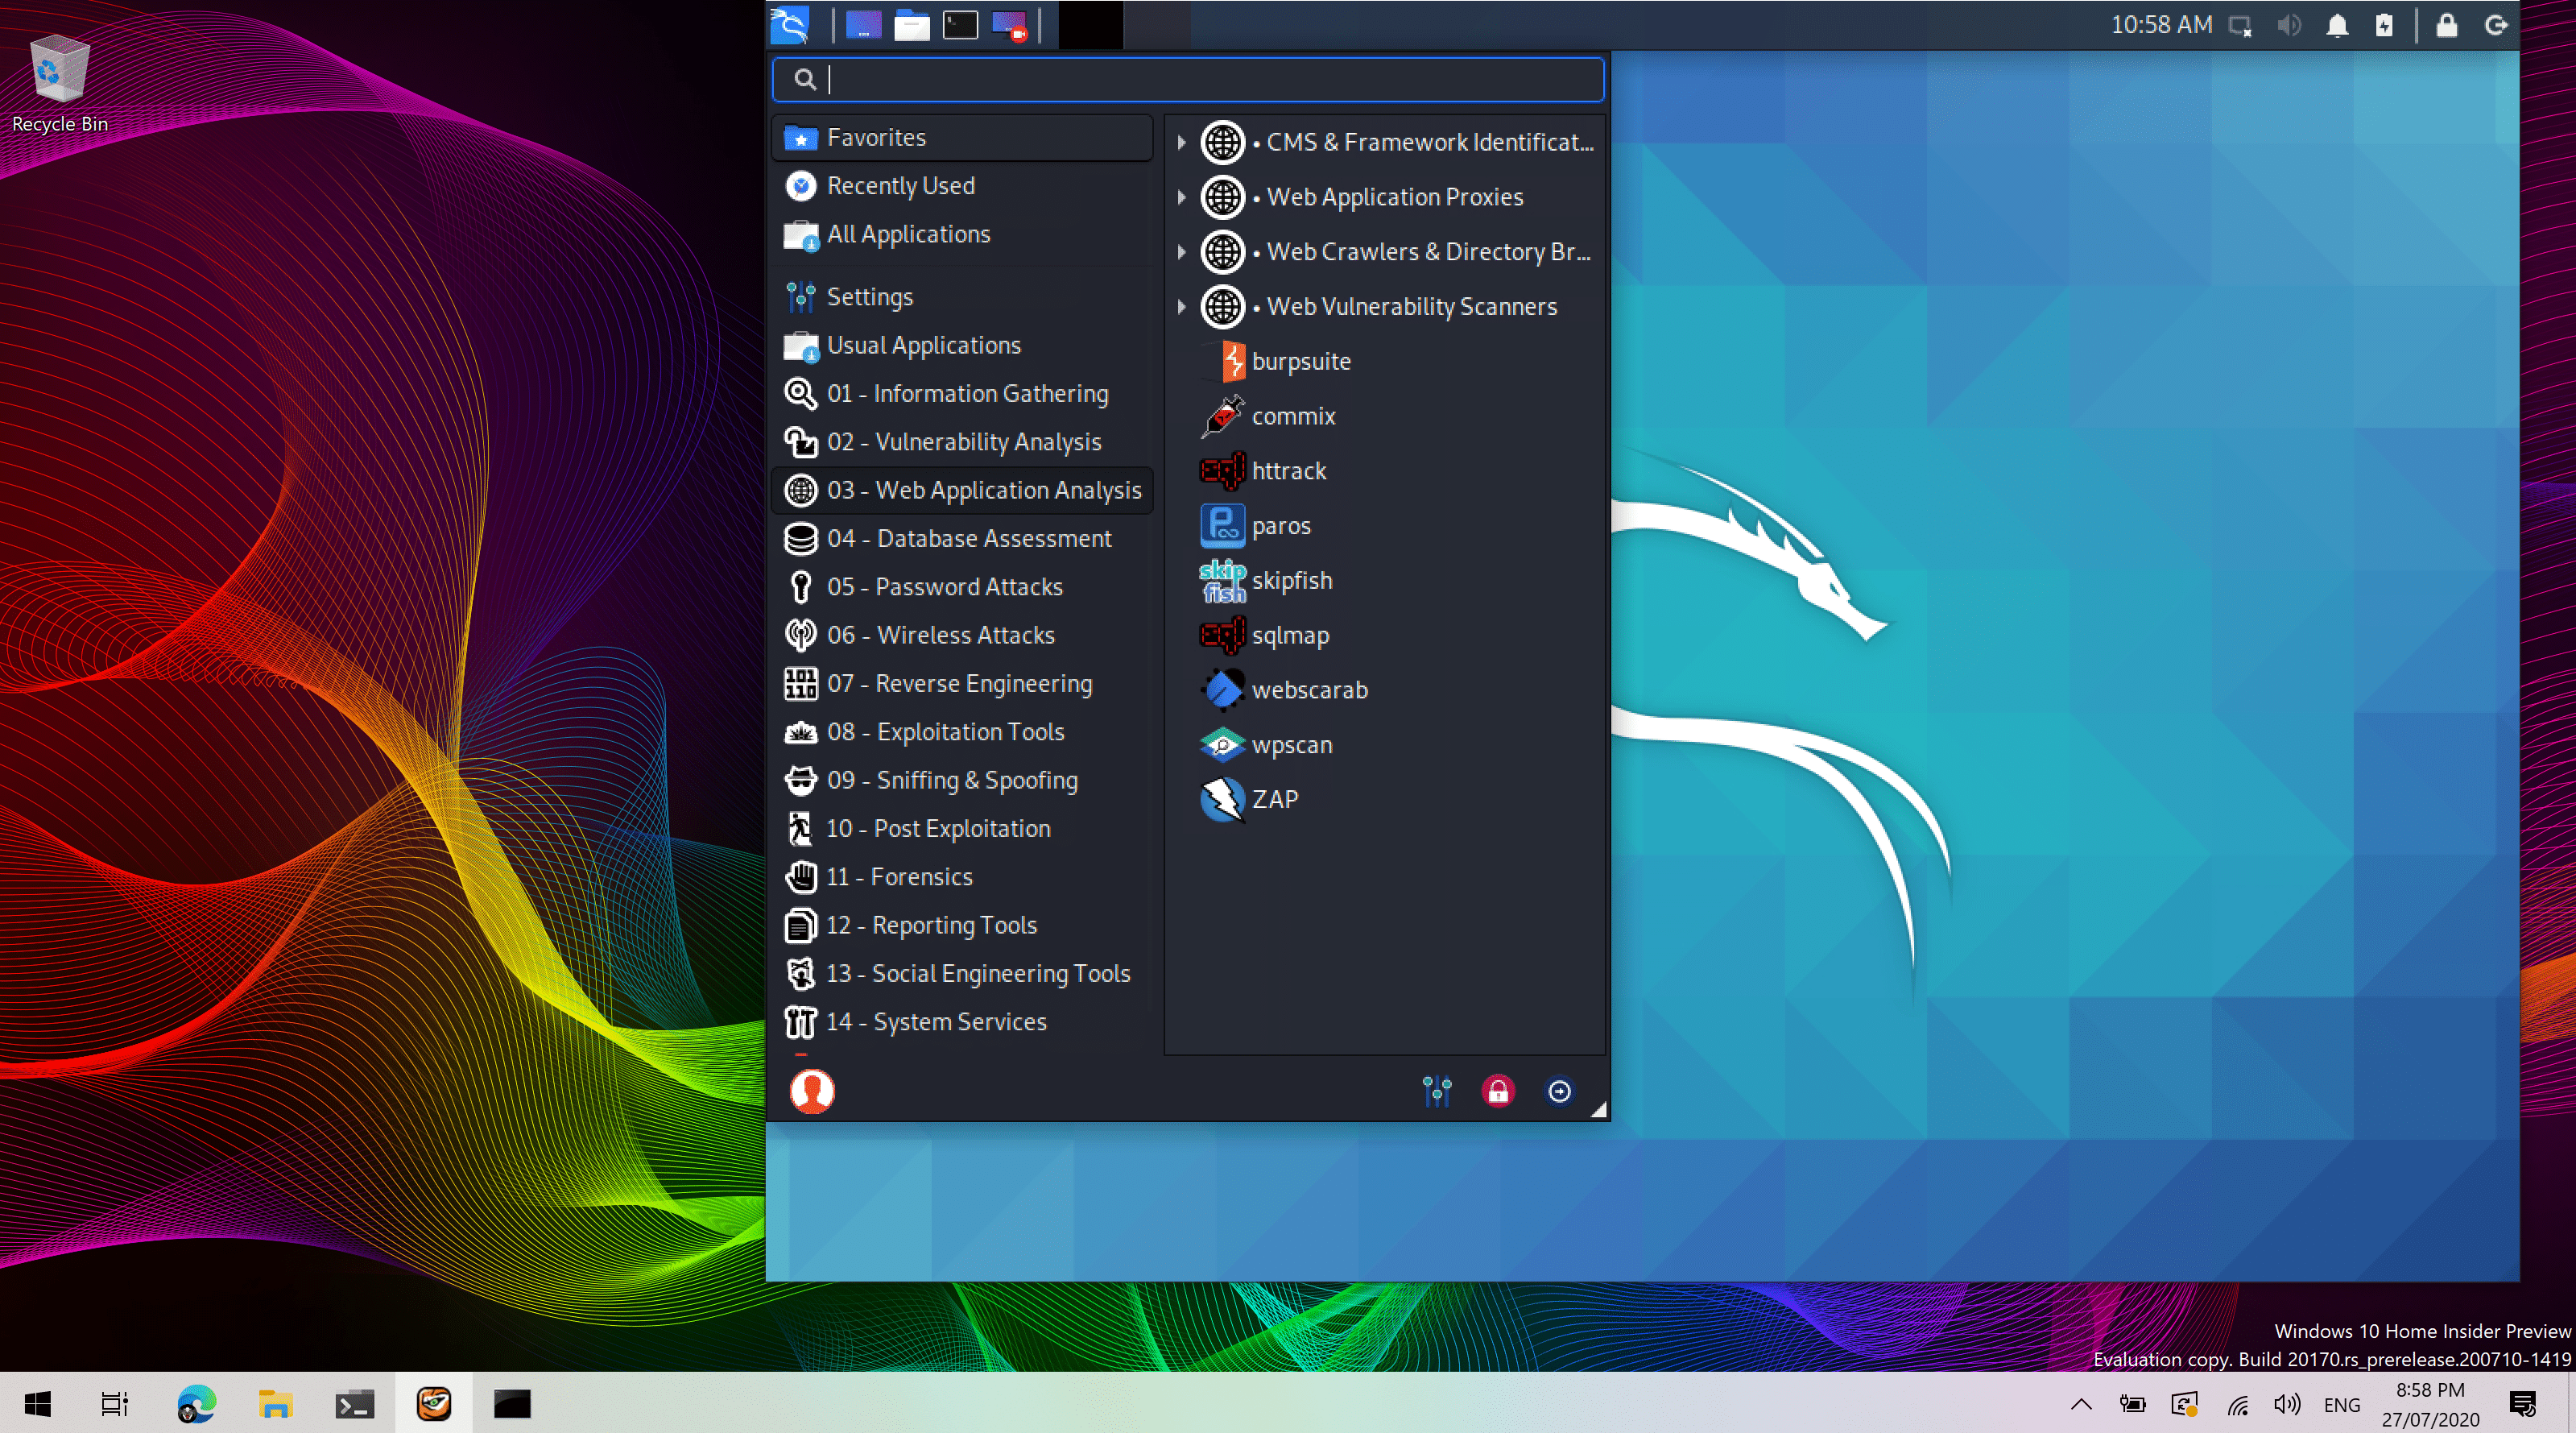
Once the installation is finished type kex to run the Win-KeX interface.
CONCLUSION
So this was a simple guide on how to install Kali Linux on a Windows 10 PC. If you face any issue during the installation then do check out the video or let us know about the problem you are facing in the comments section below.
